
category
tags
type
status
slug
date
summary
icon
password
🤔前言
公司要求使用CVS作为版本控制器,以前一直使用SVN和Git的我感觉要先学习了解一下:
关于CVS
CVS:协作版本系统(Concurrent Versions System)是一种开放源码的版本控制软件。主要在开源软件管理中使用。与它相类似的代码版本控制软件有Subversion。多个开发人员通过一个中心版本控制系统来记录文件版本,从而达到保证文件同步的目的。由于之前CVS编码的问题,大多数软件开发公司都使用SVN替代了CVS。
GUI程序暂时还不兼容
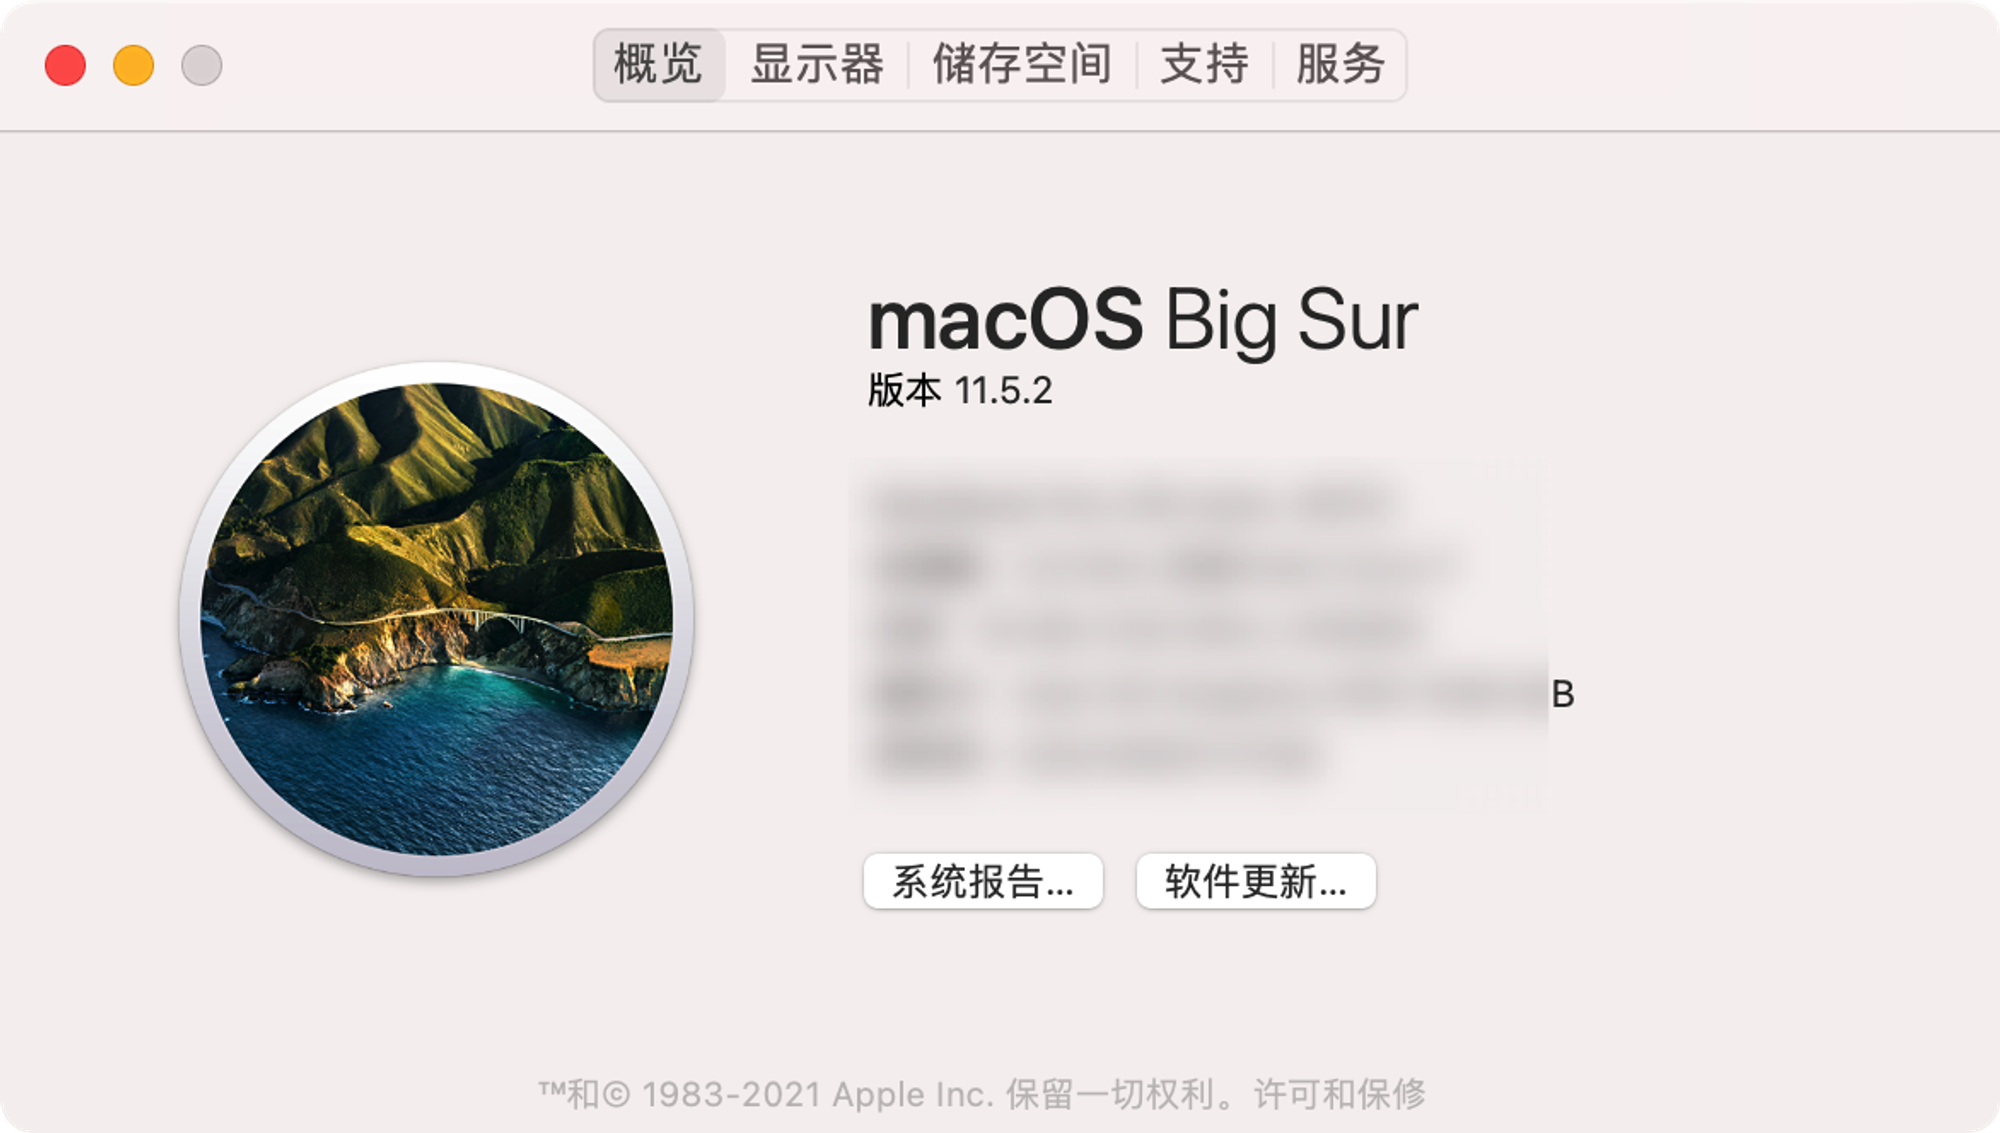
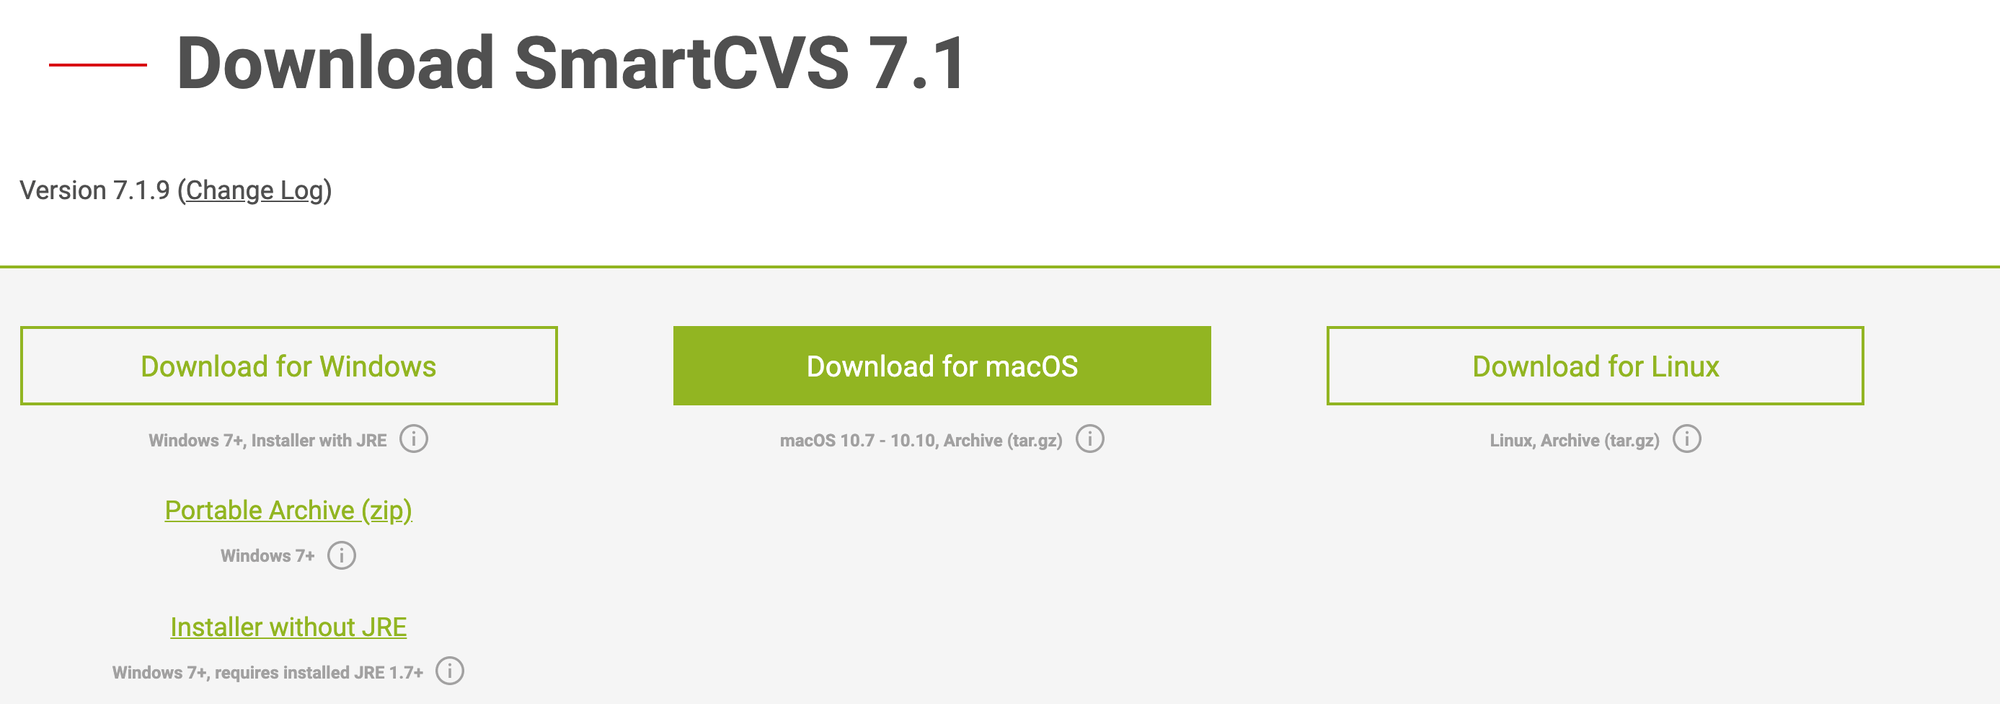
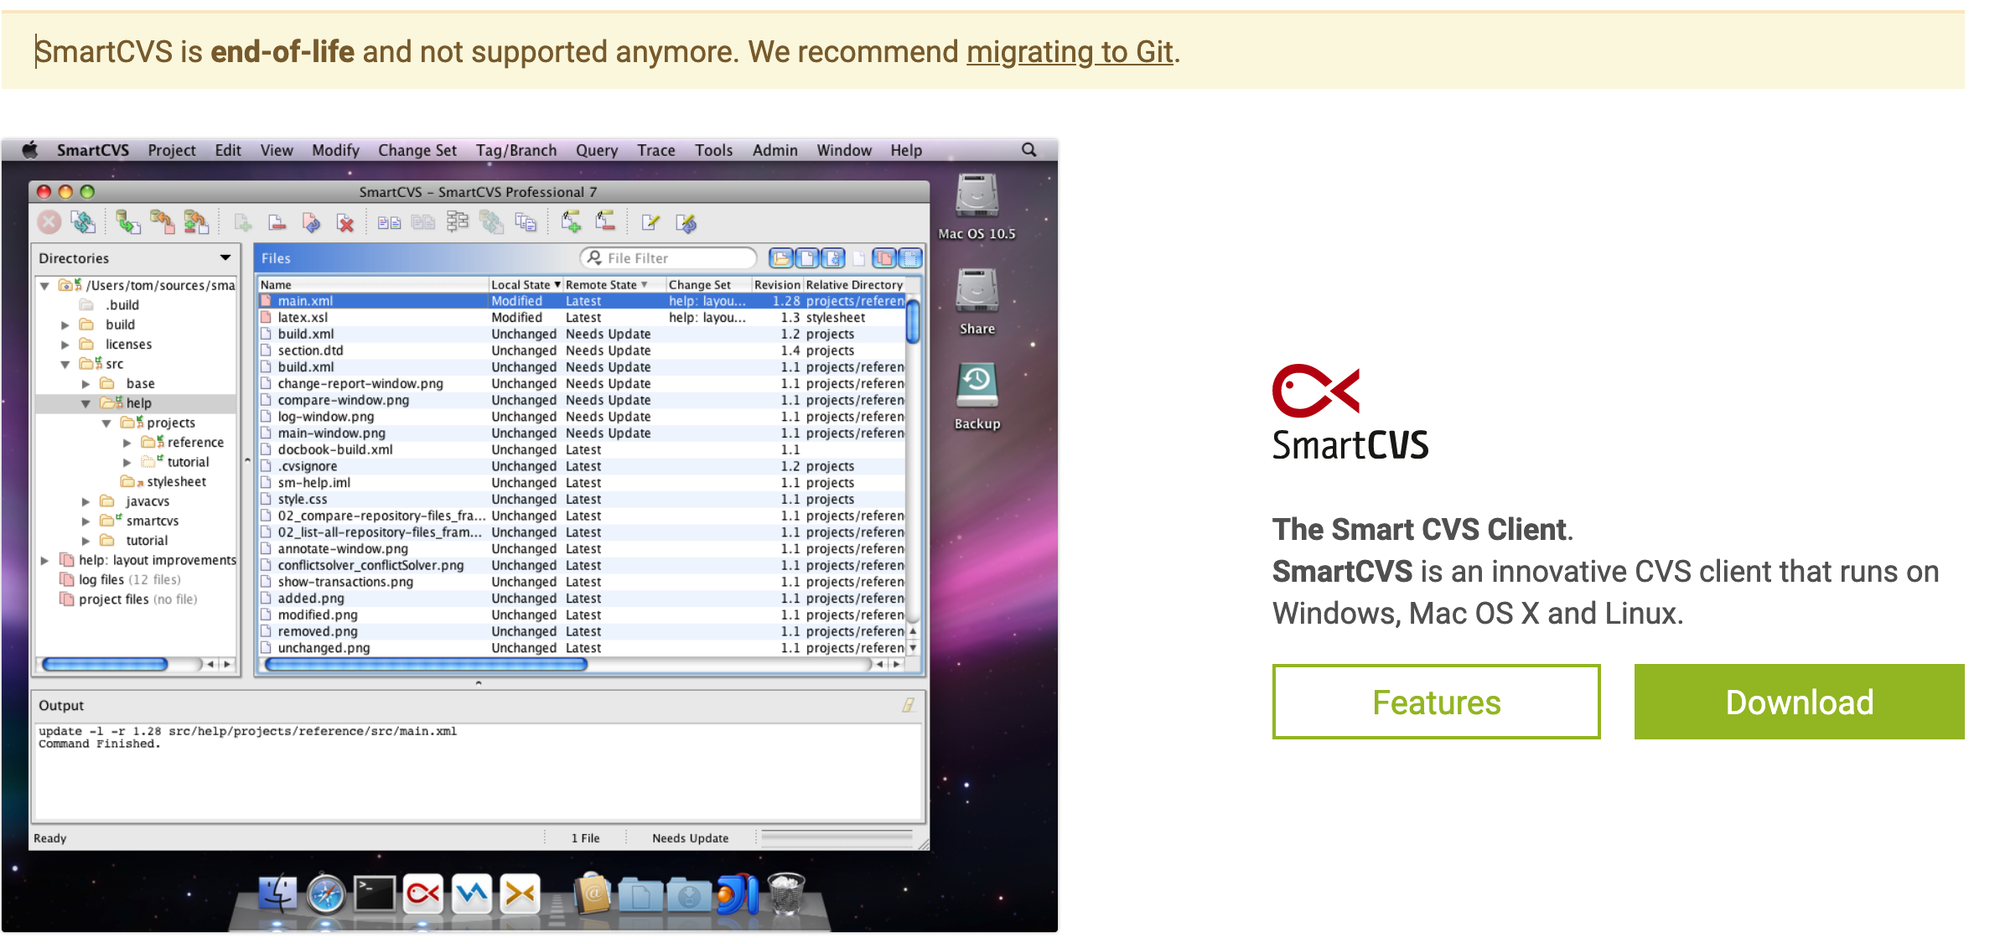
SmartCVS是Mac系统上常用的CVS的可视化程序,奈何最新版本不支持macOS Big Sur的操作系统,官网只支持10.7-10.10的版本,并且指出不再维护该软件(SmartCVS is end-of-life and not supported anymore. We recommend migrating to Git.)这篇文章将描述如何在Mac下用CVS的命令行。
安装CVS环境
关于Homebrew
这里我们将使用HomeBrew安装CVS环境,Homebrew是一款Mac OS平台下的软件包管理工具,拥有安装、卸载、更新、查看、搜索等很多实用的功能。简单的一条指令,就可以实现包管理,而不用你关心各种依赖和文件路径的情况,十分方便快捷。
Homebrew 安装
(已经安装了的可以跳过这段)
在终端或iTerm中输入以下指令安装
任意选择一个安装源即可
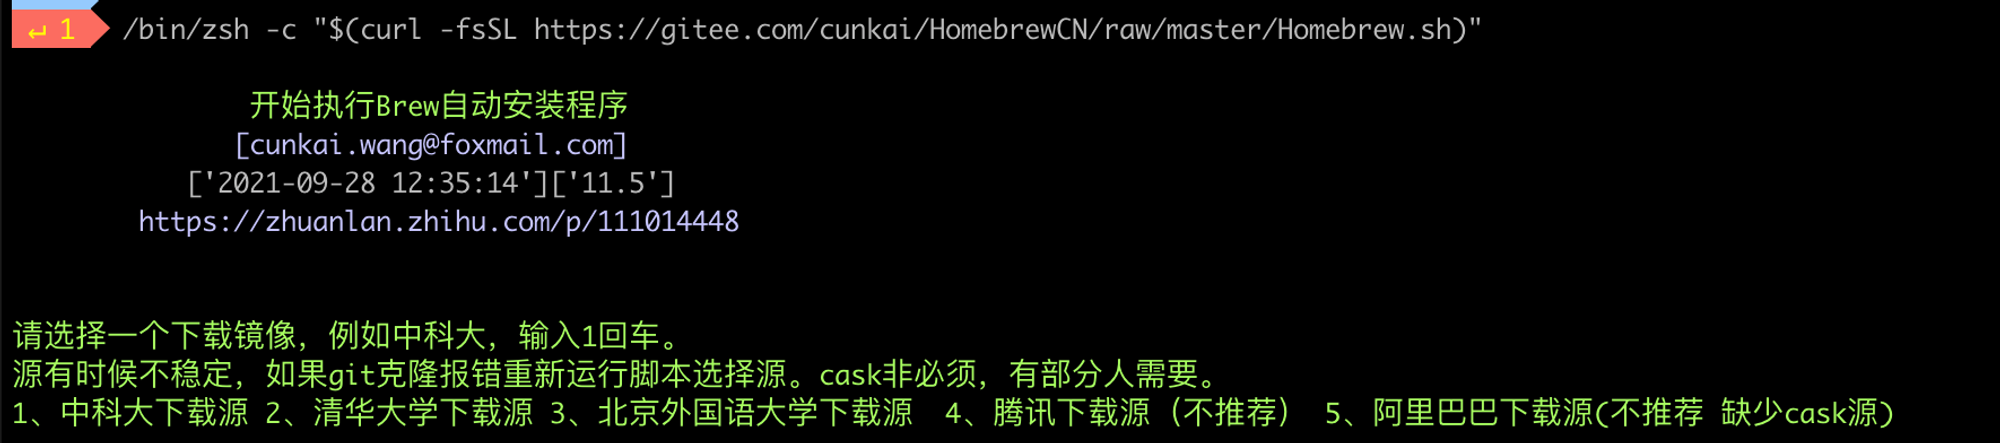
脚本执行若无响应,可能你的网络无法访问改地址,可以尝试以下方式:手动下载脚本执行(点击三角展开说明)
这一步如果打不开,可能是你的网络屏蔽了该网站😢,可以尝试下载下面的脚本文件
homebrew-install.sh进行安装
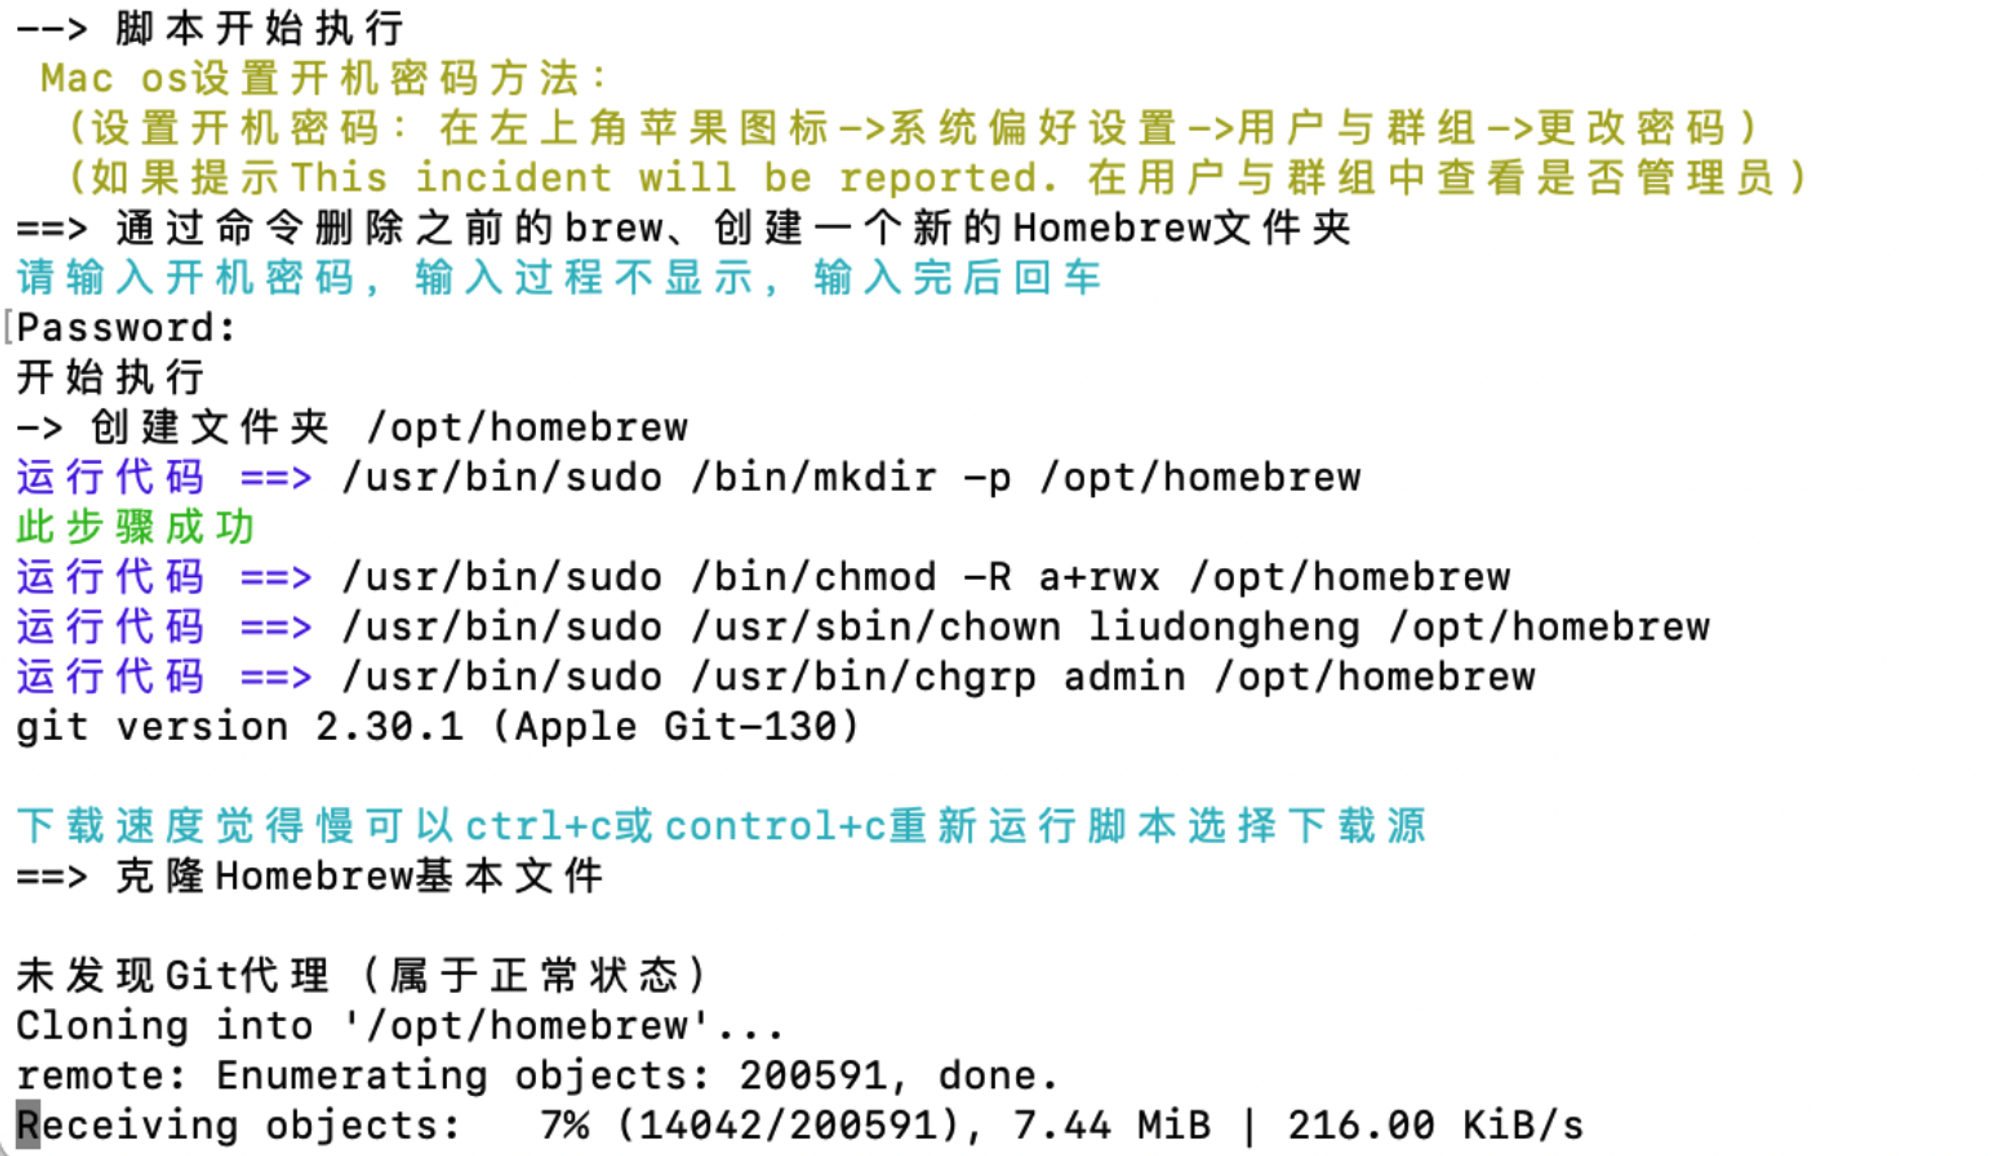
1.chmod a+x 表示赋予执行权限 直接将脚本拖入终端,按下回车2.再将脚本拖入终端,按下回车执行
执行后如图
使用Homebrew安装CVS
在终端中输入以下指令,即可完成安装。

CVS指令说明
在控制台输入
cvs help可以这样查看CVS的基本指令功能。基本常用指令
cvs login :登入CVS
cvs import :放个module进CVS管理
cvs checkout :从服务器检出一个项目
cvs add :添加文件
cvs remove :移除文件
cvs commit :将本地的文件改动提交到服务器
cvs update :别人有新的送交行为时,更新自己的版本,同步柜子的版本。
cvs status :查看服务器库里面的文件 加上-l只看本地
cvs diff :看两个版本的差异
cvs log :看一下log历史纪录
cvs logout :登出CVS
日常使用步骤
- 0.指定
CVSROOT,需要配置仓库地址
执行指令:
export CVSROOT=:pserver:username@the_servername:/home/cvsroot
说明:
pserver:访问方式,如果服务器设置的是口令认证,则是 pserverusername:CVS服务器的用户名,可以根据你的设置修改;the_server_name:CVS服务器的名称或者IP地址; /home/cvsroot:CVS服务器的CVSROOT目录,根据CVS服务器修改或询问管理员.- 1.登录账号
cvs login
这时候cvs会问你口令,请把你在CVS服务器上的口令敲进去: 
Passwd:xxxxxxxx- 2.查看库里的所有项目:
cvs ls
有的服务端不支持查看所有项目,会提示
server does not support ls不过不影响使用- 3.从库里 checkout 项目到本地
cvs checkout project_name
注意:先将目录切换到准备放项目的位置,指令参考:
cd /Users/tangly/Documents/WorkSpace方法二:将文件夹拖拽到终端中,按下回车键
如果出现permission denied,需要先加一个
cd在前面
- 4.更新本地文件
cvs update
- 5.添加新的文件夹/文件
cvs add filename
- 6.将本地的改动上传
cvs commit -m "comment" filename
待解决问题
中文乱码
如果检出的文件目录,文件夹名称有中文会报错

指令补充说明
指令缩写对照
完整指令
同义缩写
说明
在IDE中配置CVS插件
执行以下指令查找CVS的安装目录
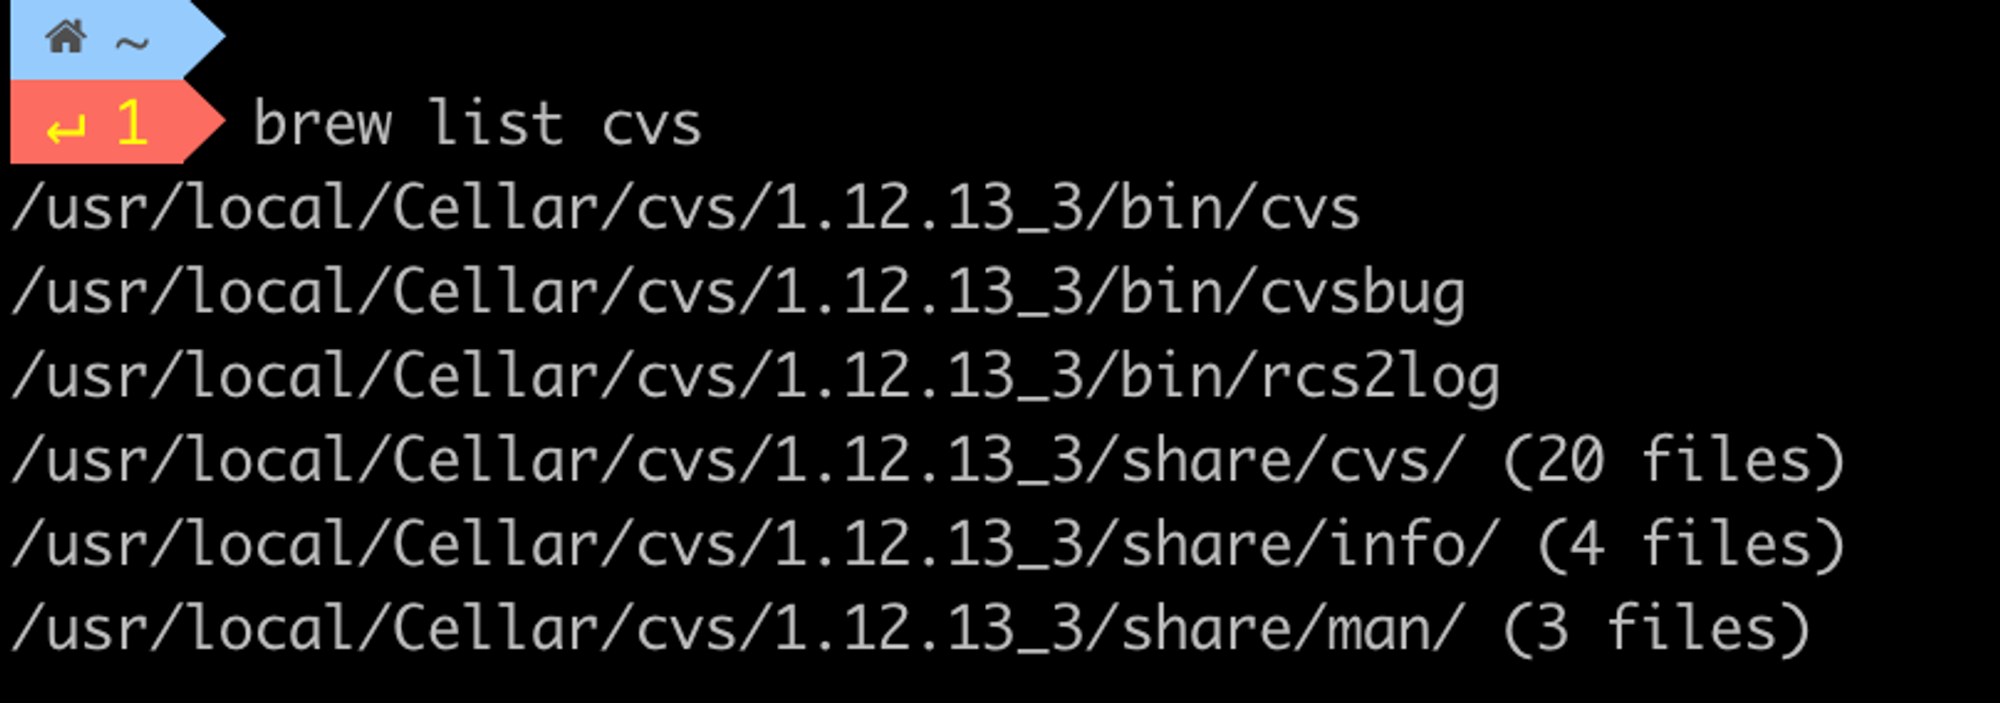
上面的这个
/usr/local/Cellar/cvs/1.12.13_3/ 就是要配置到IDE的目录。在VisualStudio中的配置方式如下: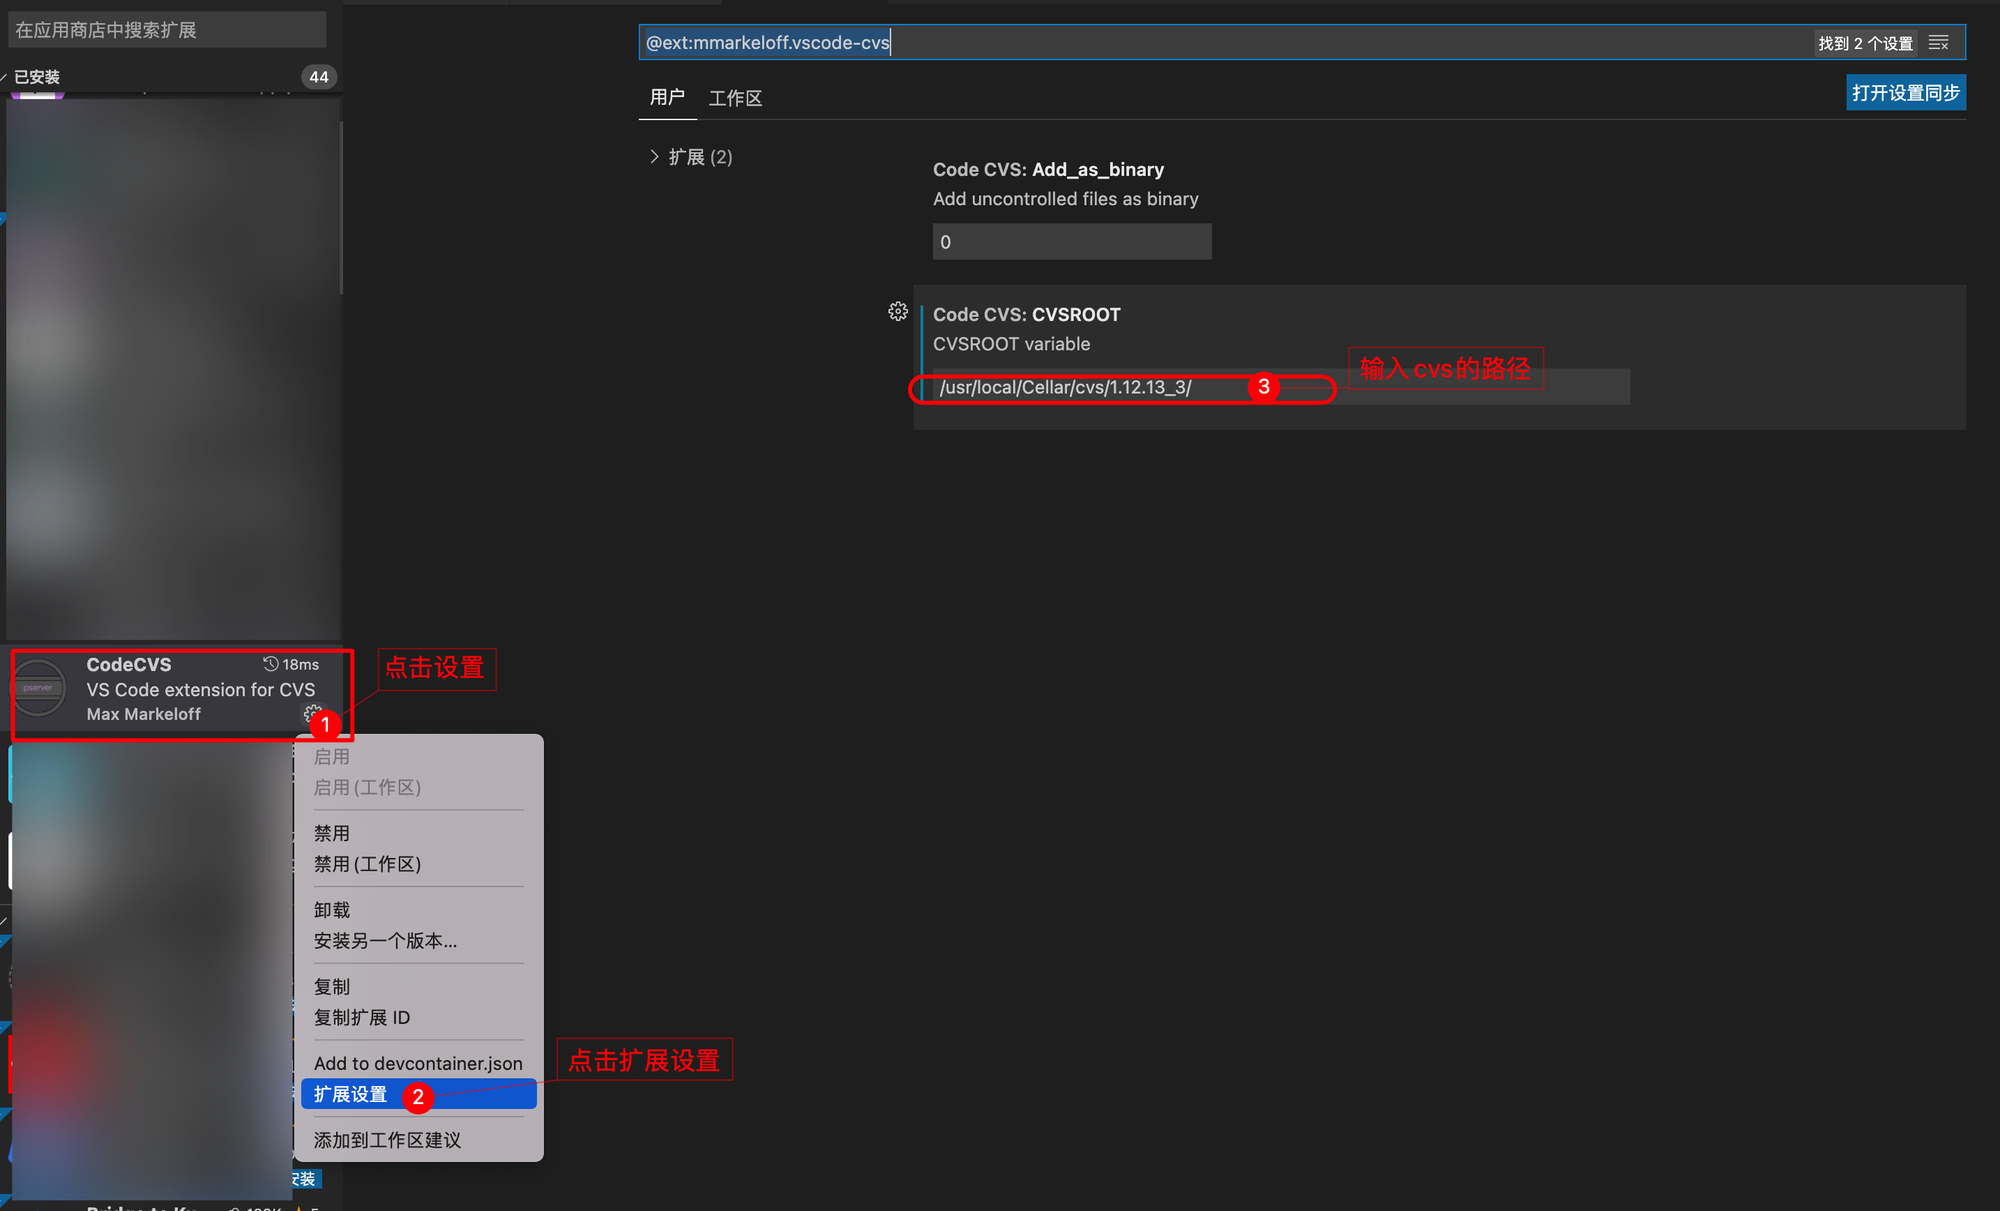
如果环境配置错误会提示
Unable to get vscode-cvs.CVSROOT variable

参考文章
- 需要指定CVSROOT

- 指令集
- 作者:NotionNext
- 链接:https://tangly1024.com/mac-big-sur-cvs
- 声明:本文采用 CC BY-NC-SA 4.0 许可协议,转载请注明出处。
相关文章