
category
tags
type
status
slug
date
summary
icon
password
前言
❓ 假如想做一个简单的功能,例如一个博客网站或网页小程序,以往我是要先花几百元购买ECS服务器,在服务器上安装运维面板、再安装Nginx、MySQL、NodeJS、Java、PHP等环境,最后实现一个API服务器。
❌ 这种传统模式不但有着较高的技术门槛,而且站点的维护升级工作就已经足够繁琐、分散了诸多精力。
无服务器方案
✅ 这篇文章我给出了一个方案,借助Vercel、NextJS让你几分钟就能实现一个CURD(增删改查)的后端API,无需购买服务器,完全免费。该方案有以下两个优点
效果演示
我将搭建的api接口部署在这个地址上: https://api.tangly1024.com/api/helloworld
相关代码部分我已上传至Github可以参考:https://github.com/tangly1024/VercelNodejsApi

工具介绍
Vercel是什么
它是一个强大的网站托管服务。Vercel类似于github page,但比github page强大、速度也快得多。通过绑定你的github项目,就能实现提交代码自动部署你的应用。
NextJS是什么
Next.js是Vercel官方推荐的、一款极易上手的React 应用框架。使用NextJS可以快速开发 React 应用,而不是先花很多时间和精力去折腾各种开发工具。
Serverless 是什么
简单地理解:Serverless = Faas(函数即服务) + Baas(后端即服务);
Serverless不代表再也不需要服务器了,而是说:开发者再也不用过多考虑服务器的问题,

快速开始
0. 账号
首先要在Vercel后台注册一个账号🧐,推荐用github直接登录。
1.初始化Vercel环境
执行
npm i -g vercel安装vercel ( NodeJs版本大于12)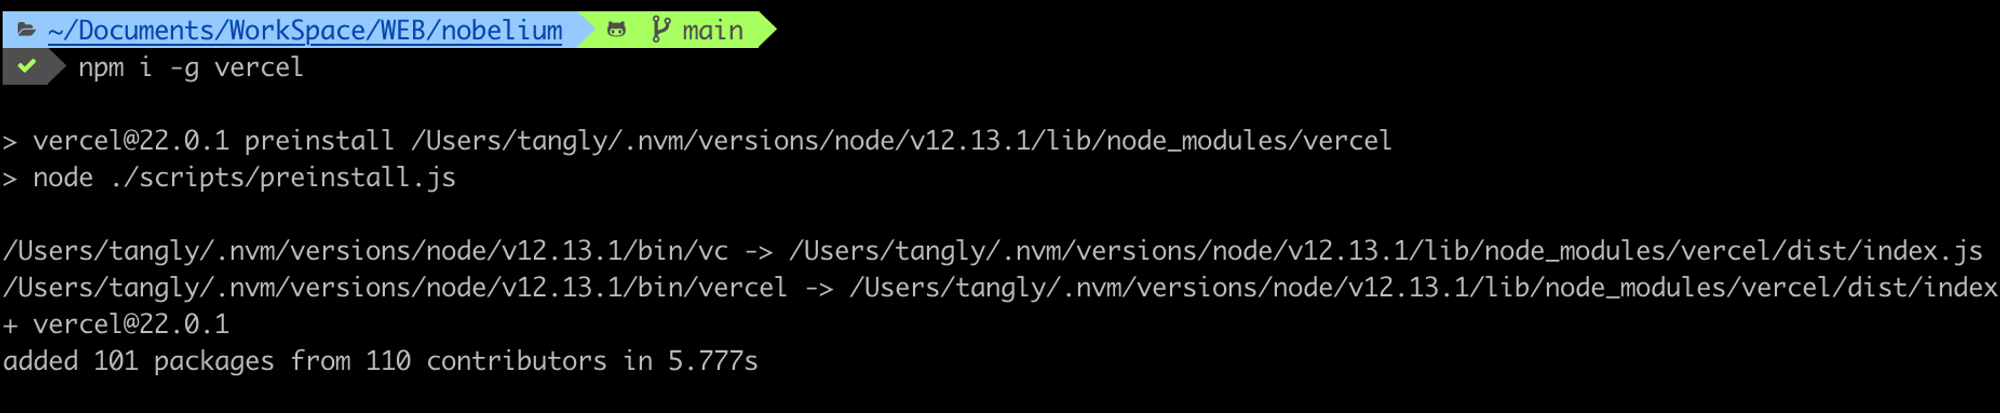
控制台输入
vercel login 登录Vercel账号,输入指令后需要验证你的vercel邮箱,vercel会向该邮箱发送一个链接,点击邮箱中的链接就可以确认登录。 
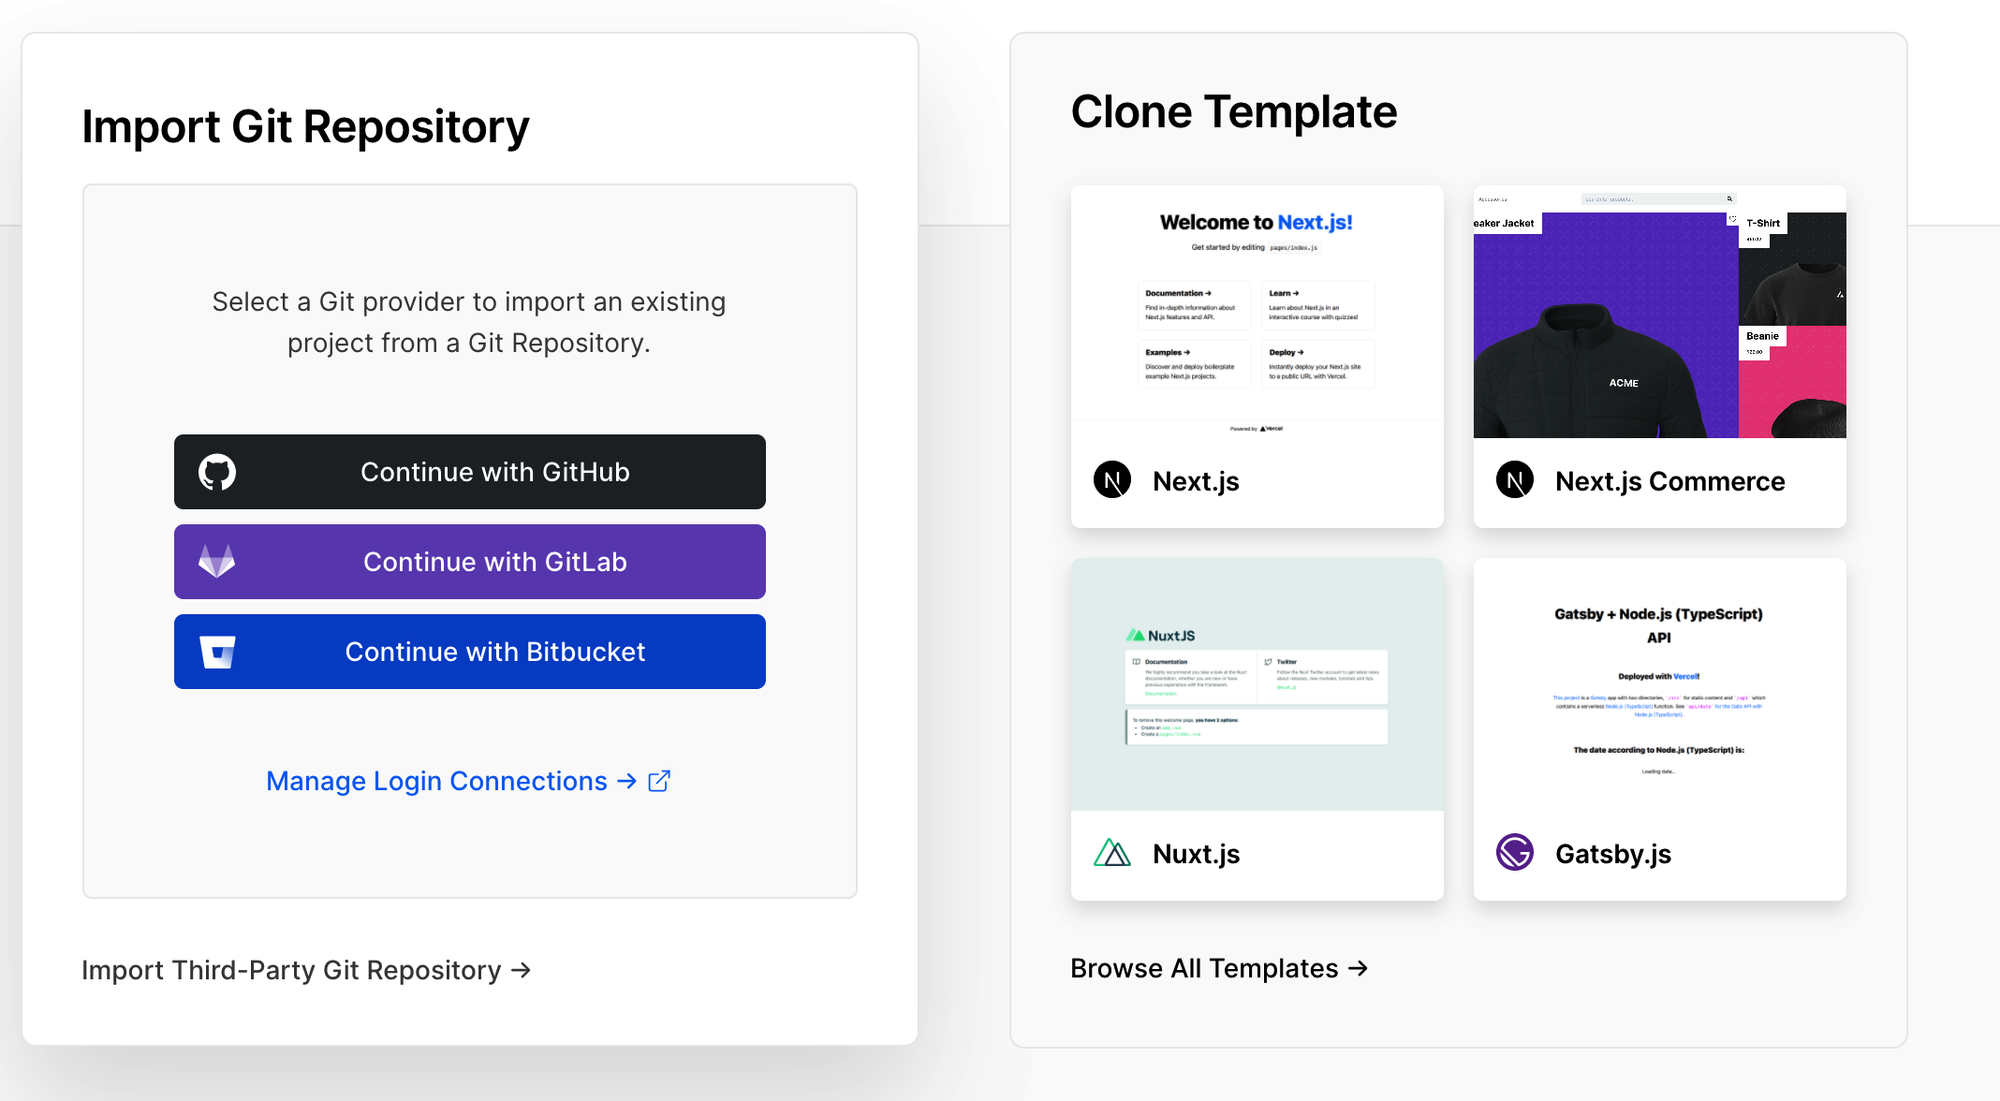
2.创建一个Vercel项目
创建一个空目录
demo-vercel 输入命令
vercel ,将当前目录初始化为vercel项目,vercel会询问你一些信息,一路回车就好。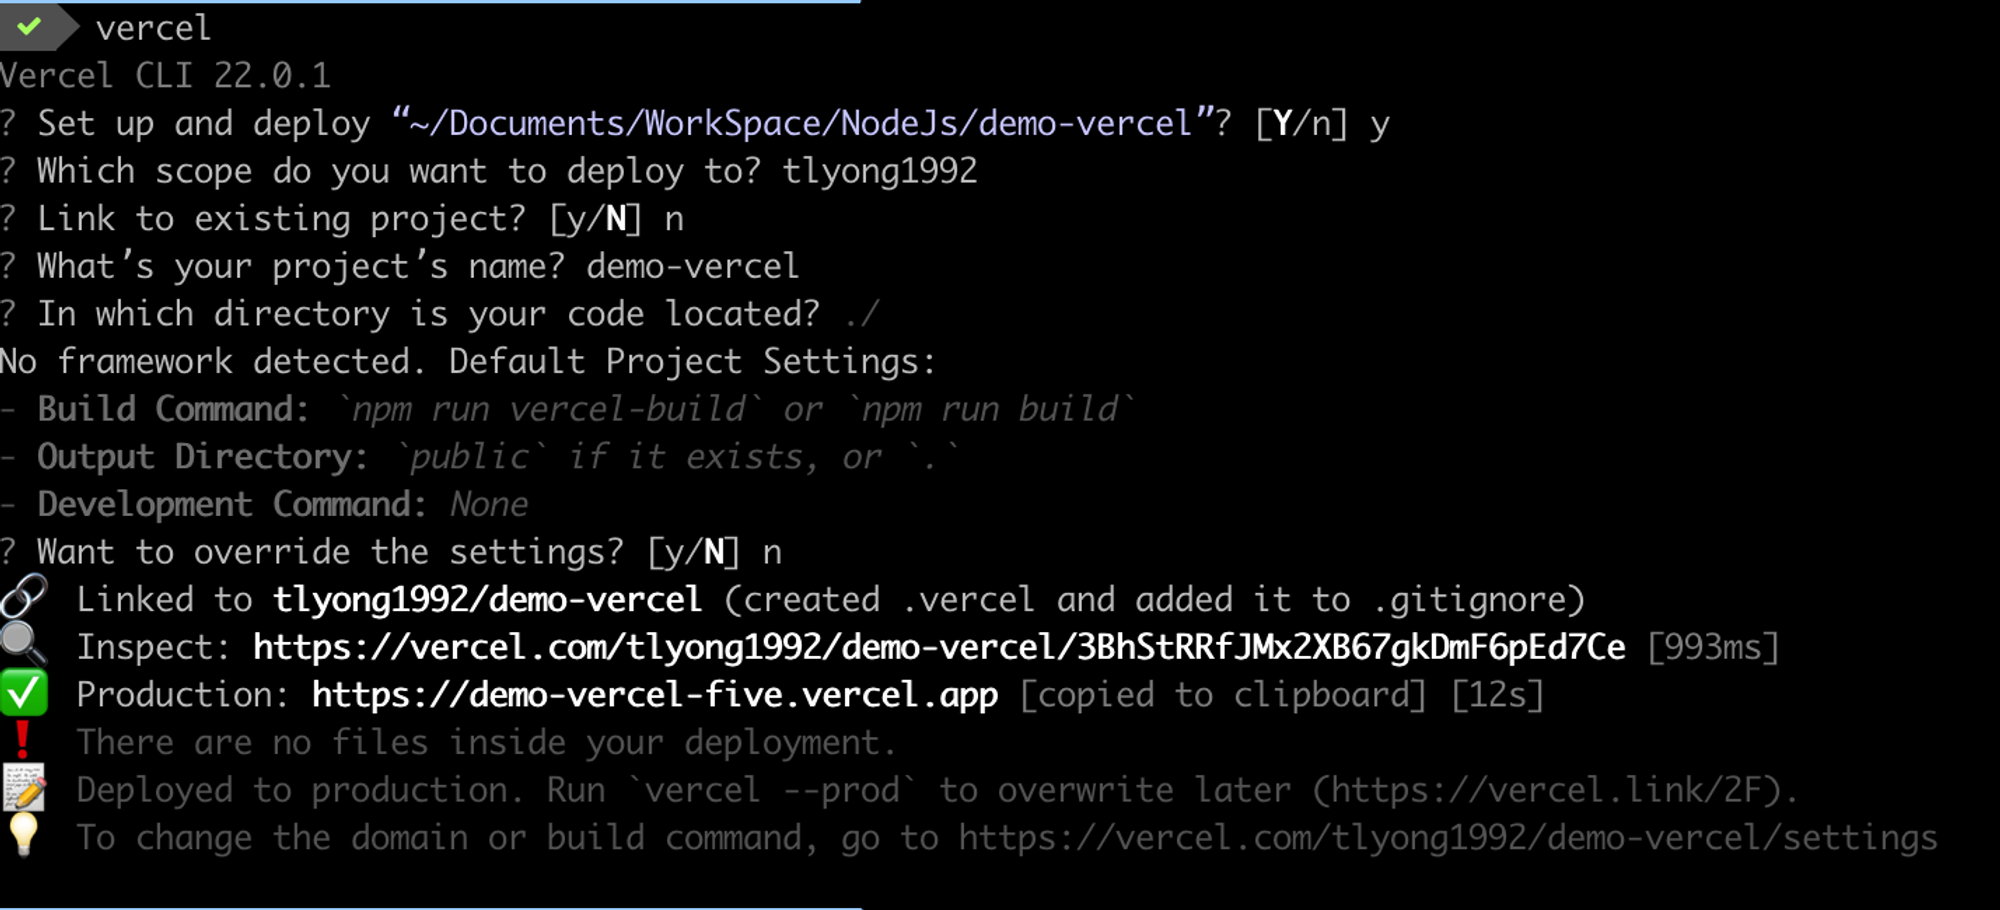
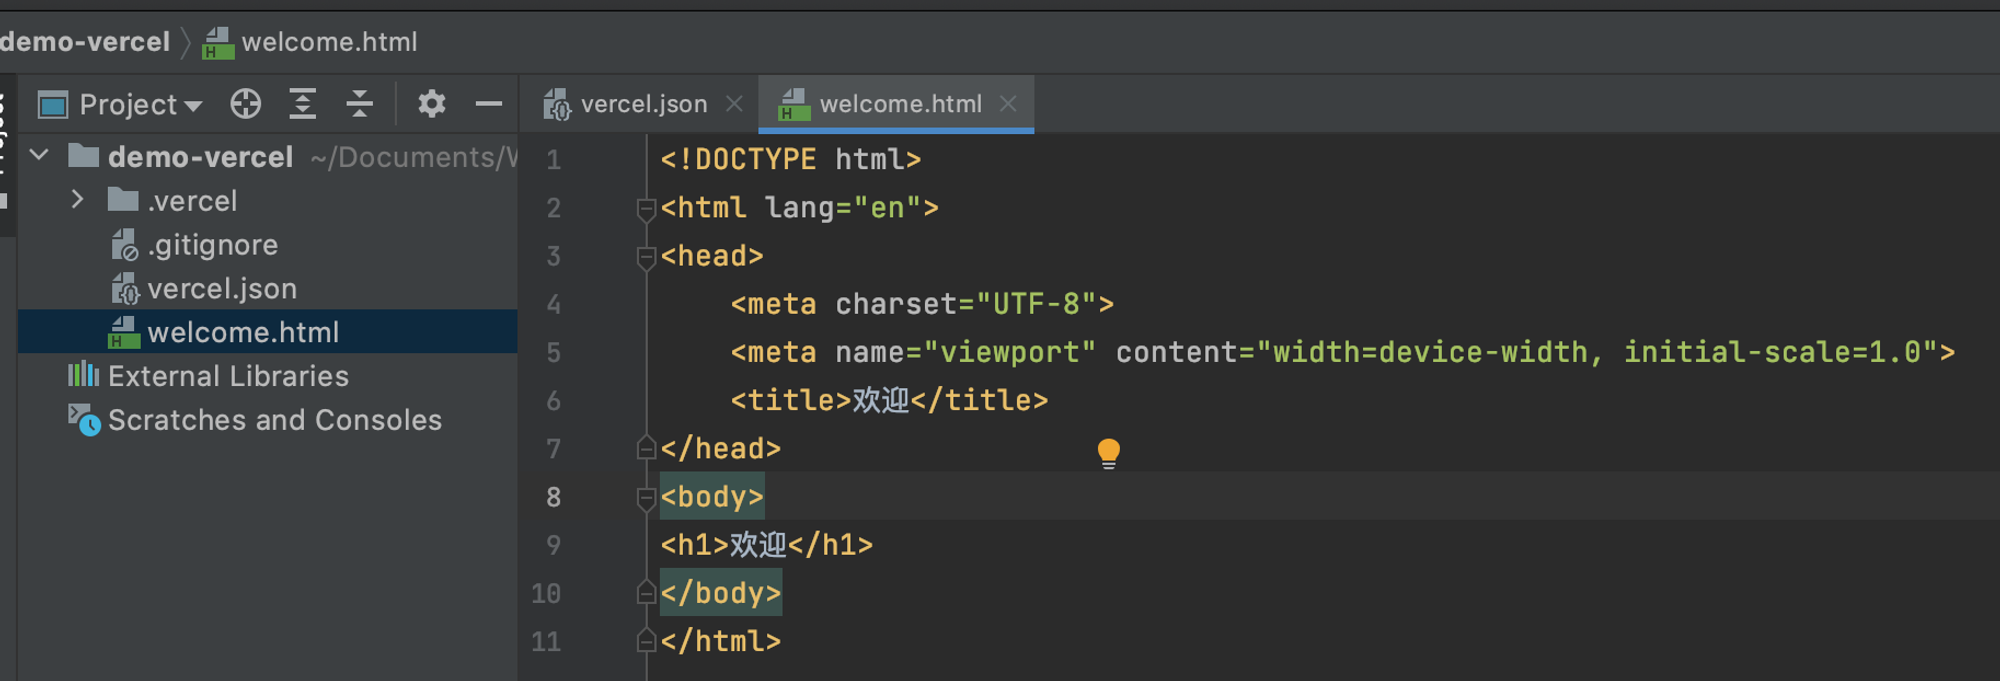
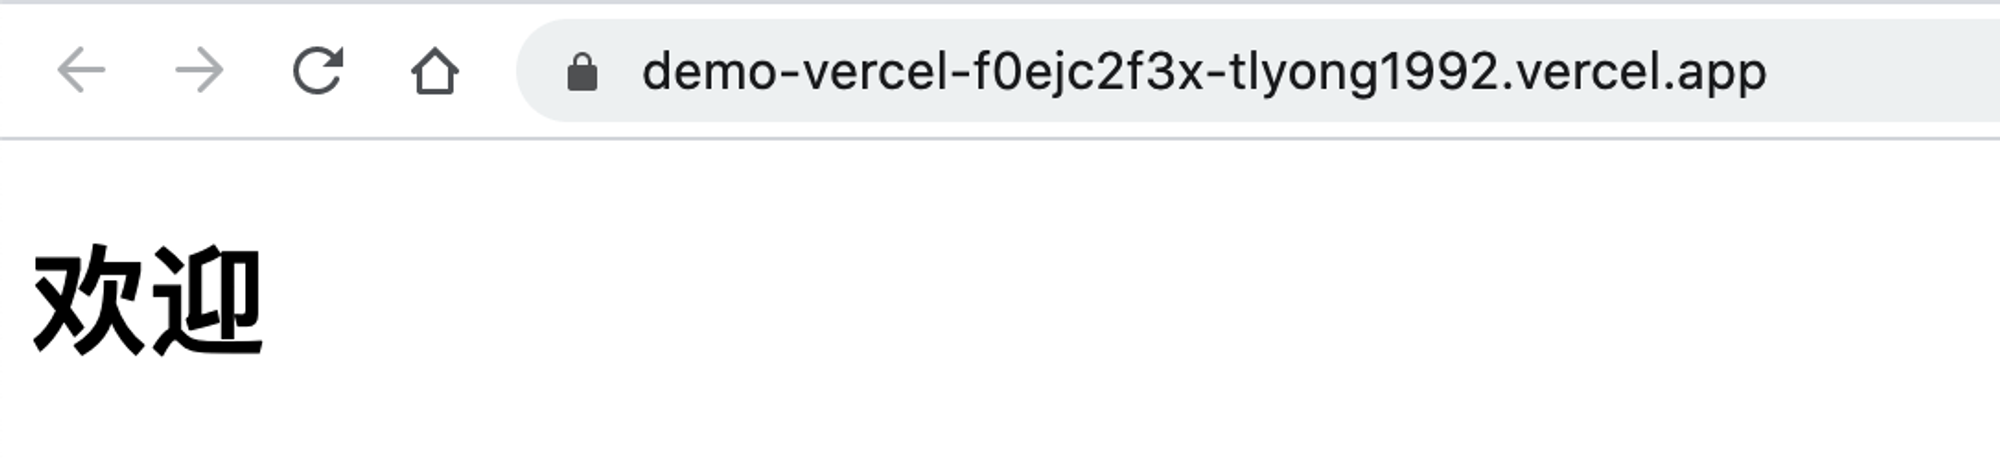
3.第一个简单页面
在根目录新建的配置文件
vercel.json,并填入下面的配置。(配置说明默认访问服务将跳转到welcome.html页面)welcome.html页面内容如下:
代码结构👉
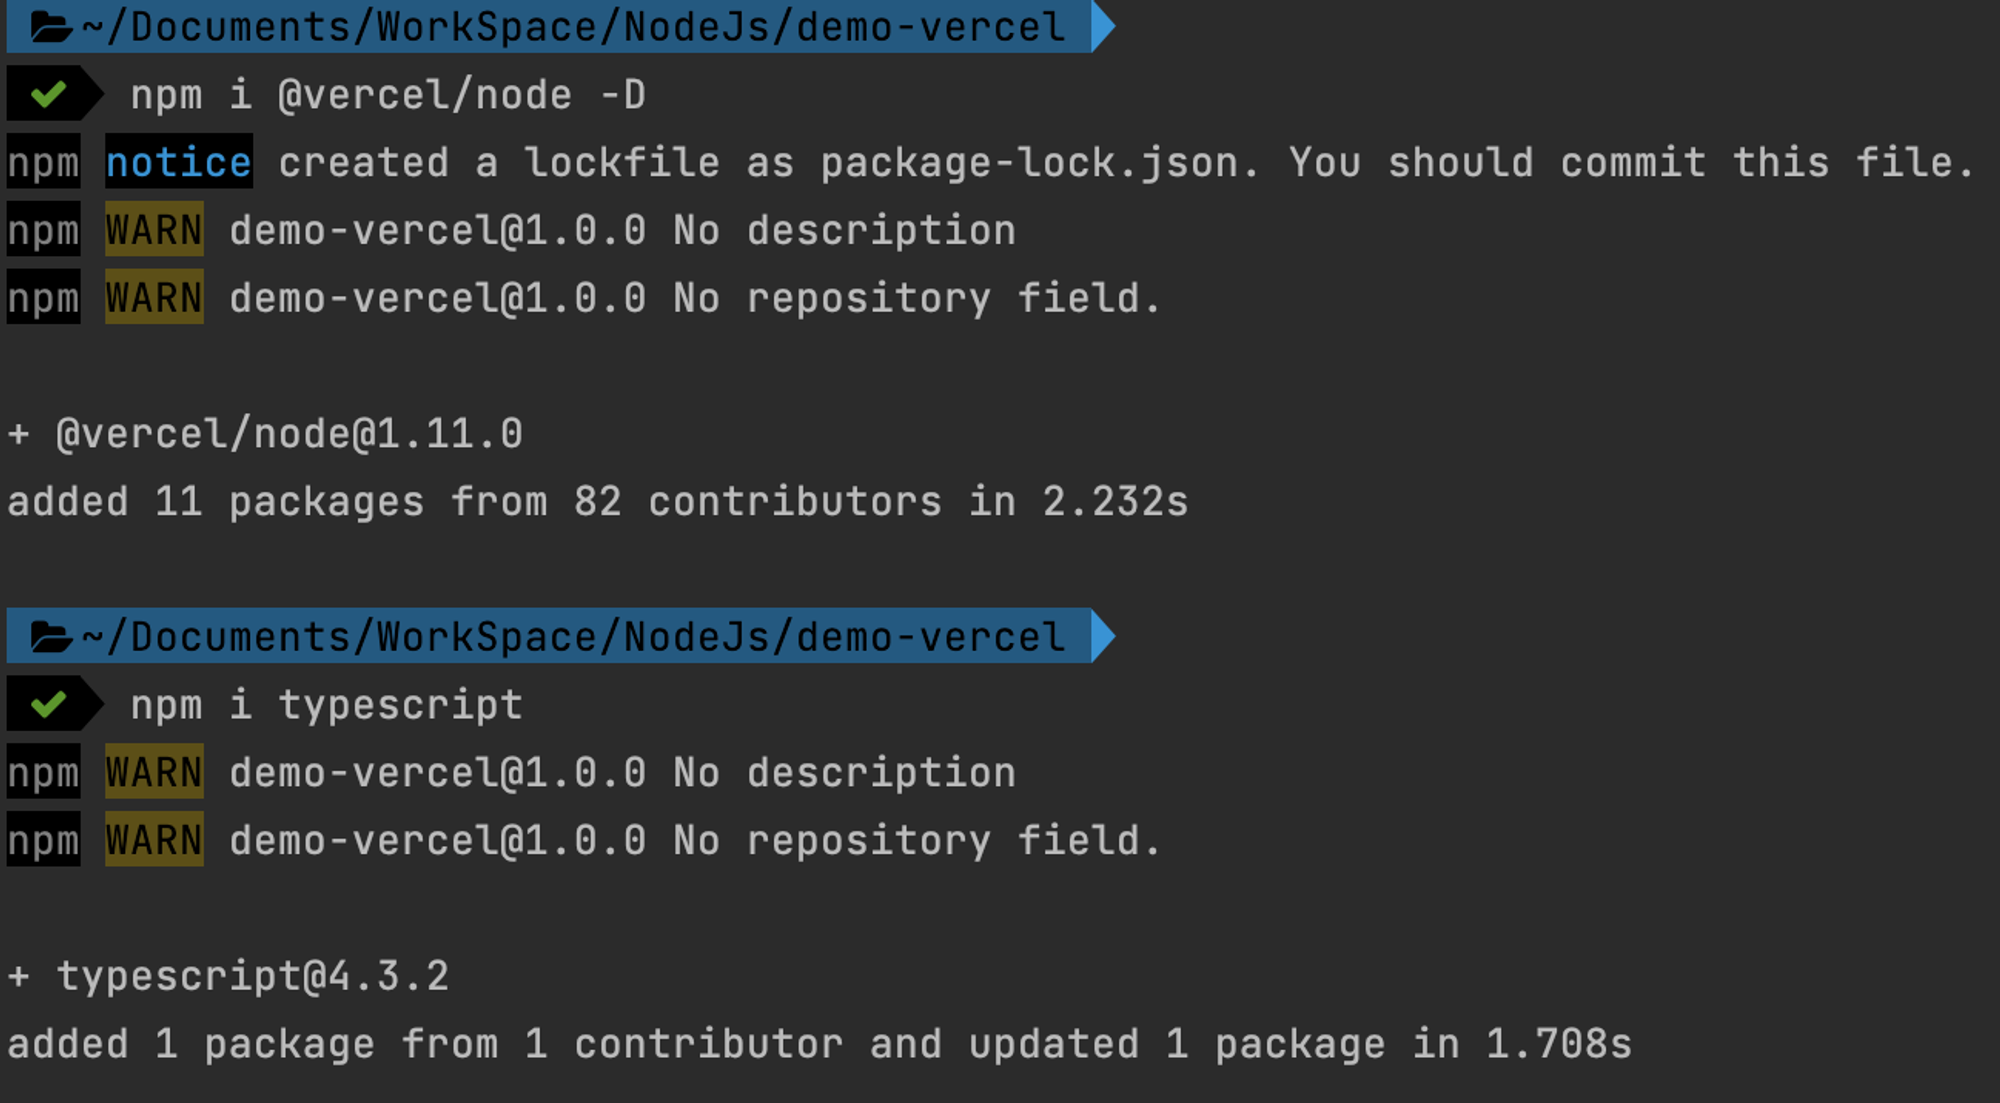
4.第一个api接口
Vercel官方支持 Nodejs、Go、Python、Ruby 这几门语言创建服务,其他语言的开发介绍可以参考官方文档
我们这里选用Nodejs来开发接口,初始化package.json、引入vercel相关的Typescript便于规范,执行以下脚本:
- 新建目录
/api,并在/api下创建文件helloworld.ts, 文件内容如下:
- 当前目录结构如下:
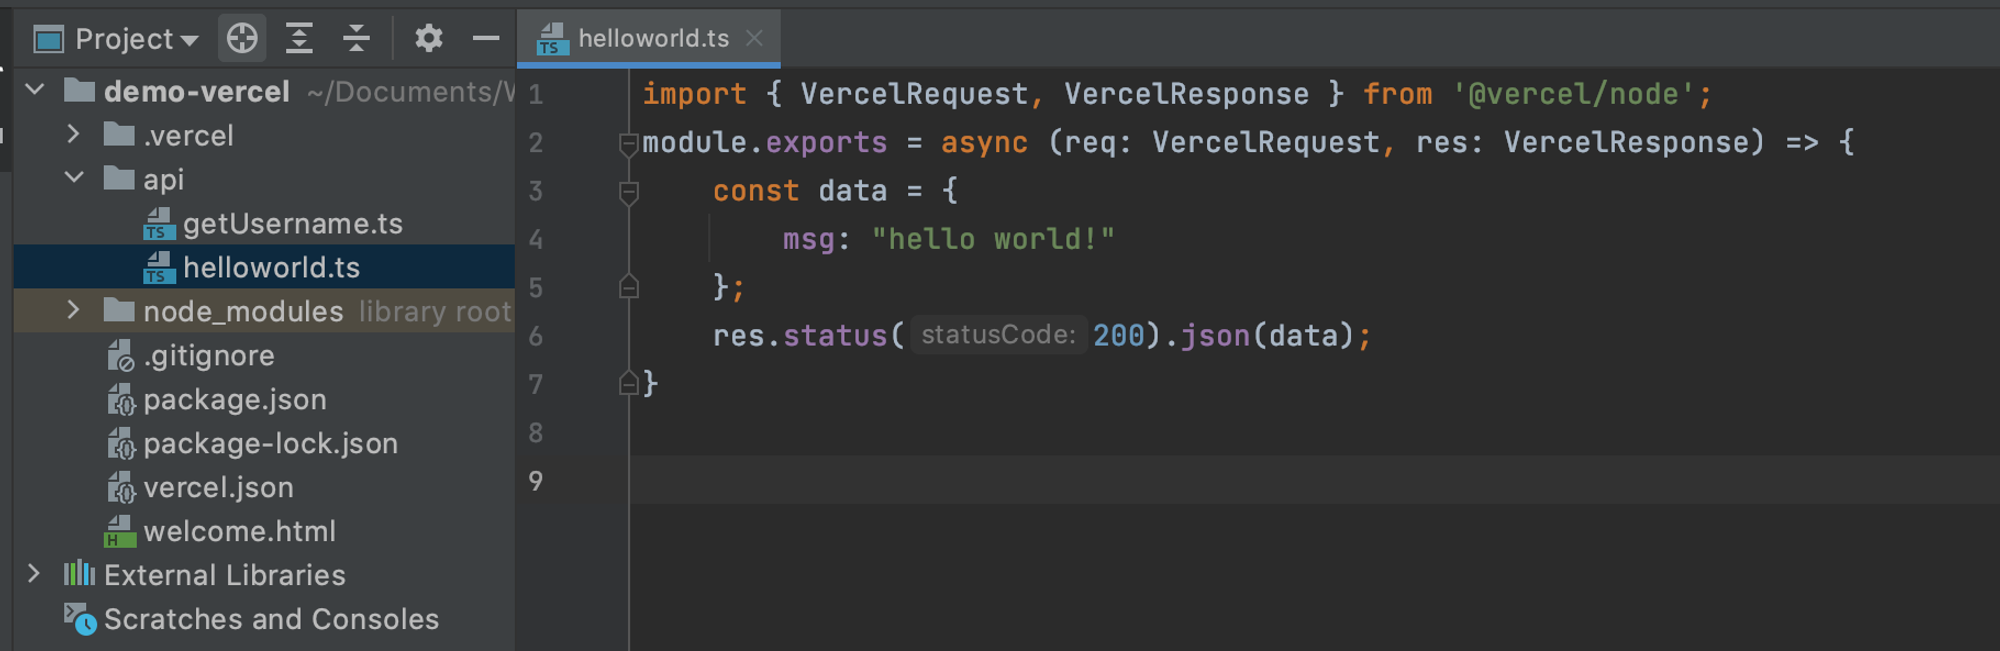
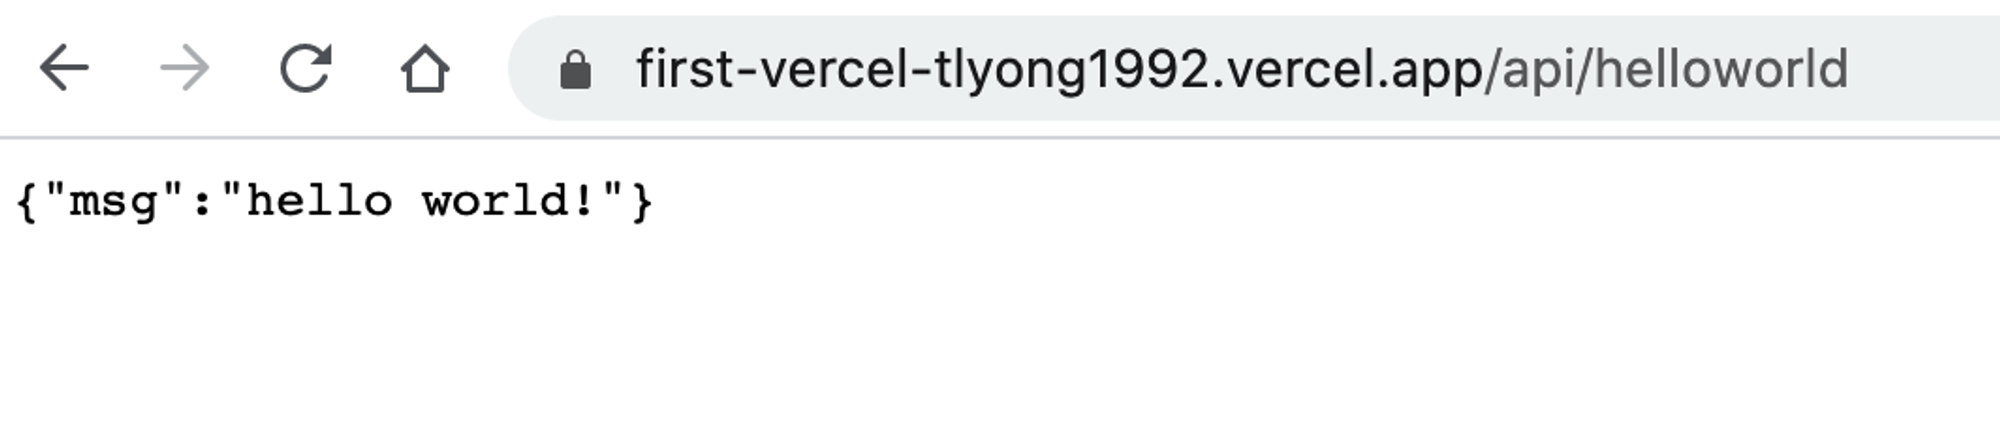
- 执行
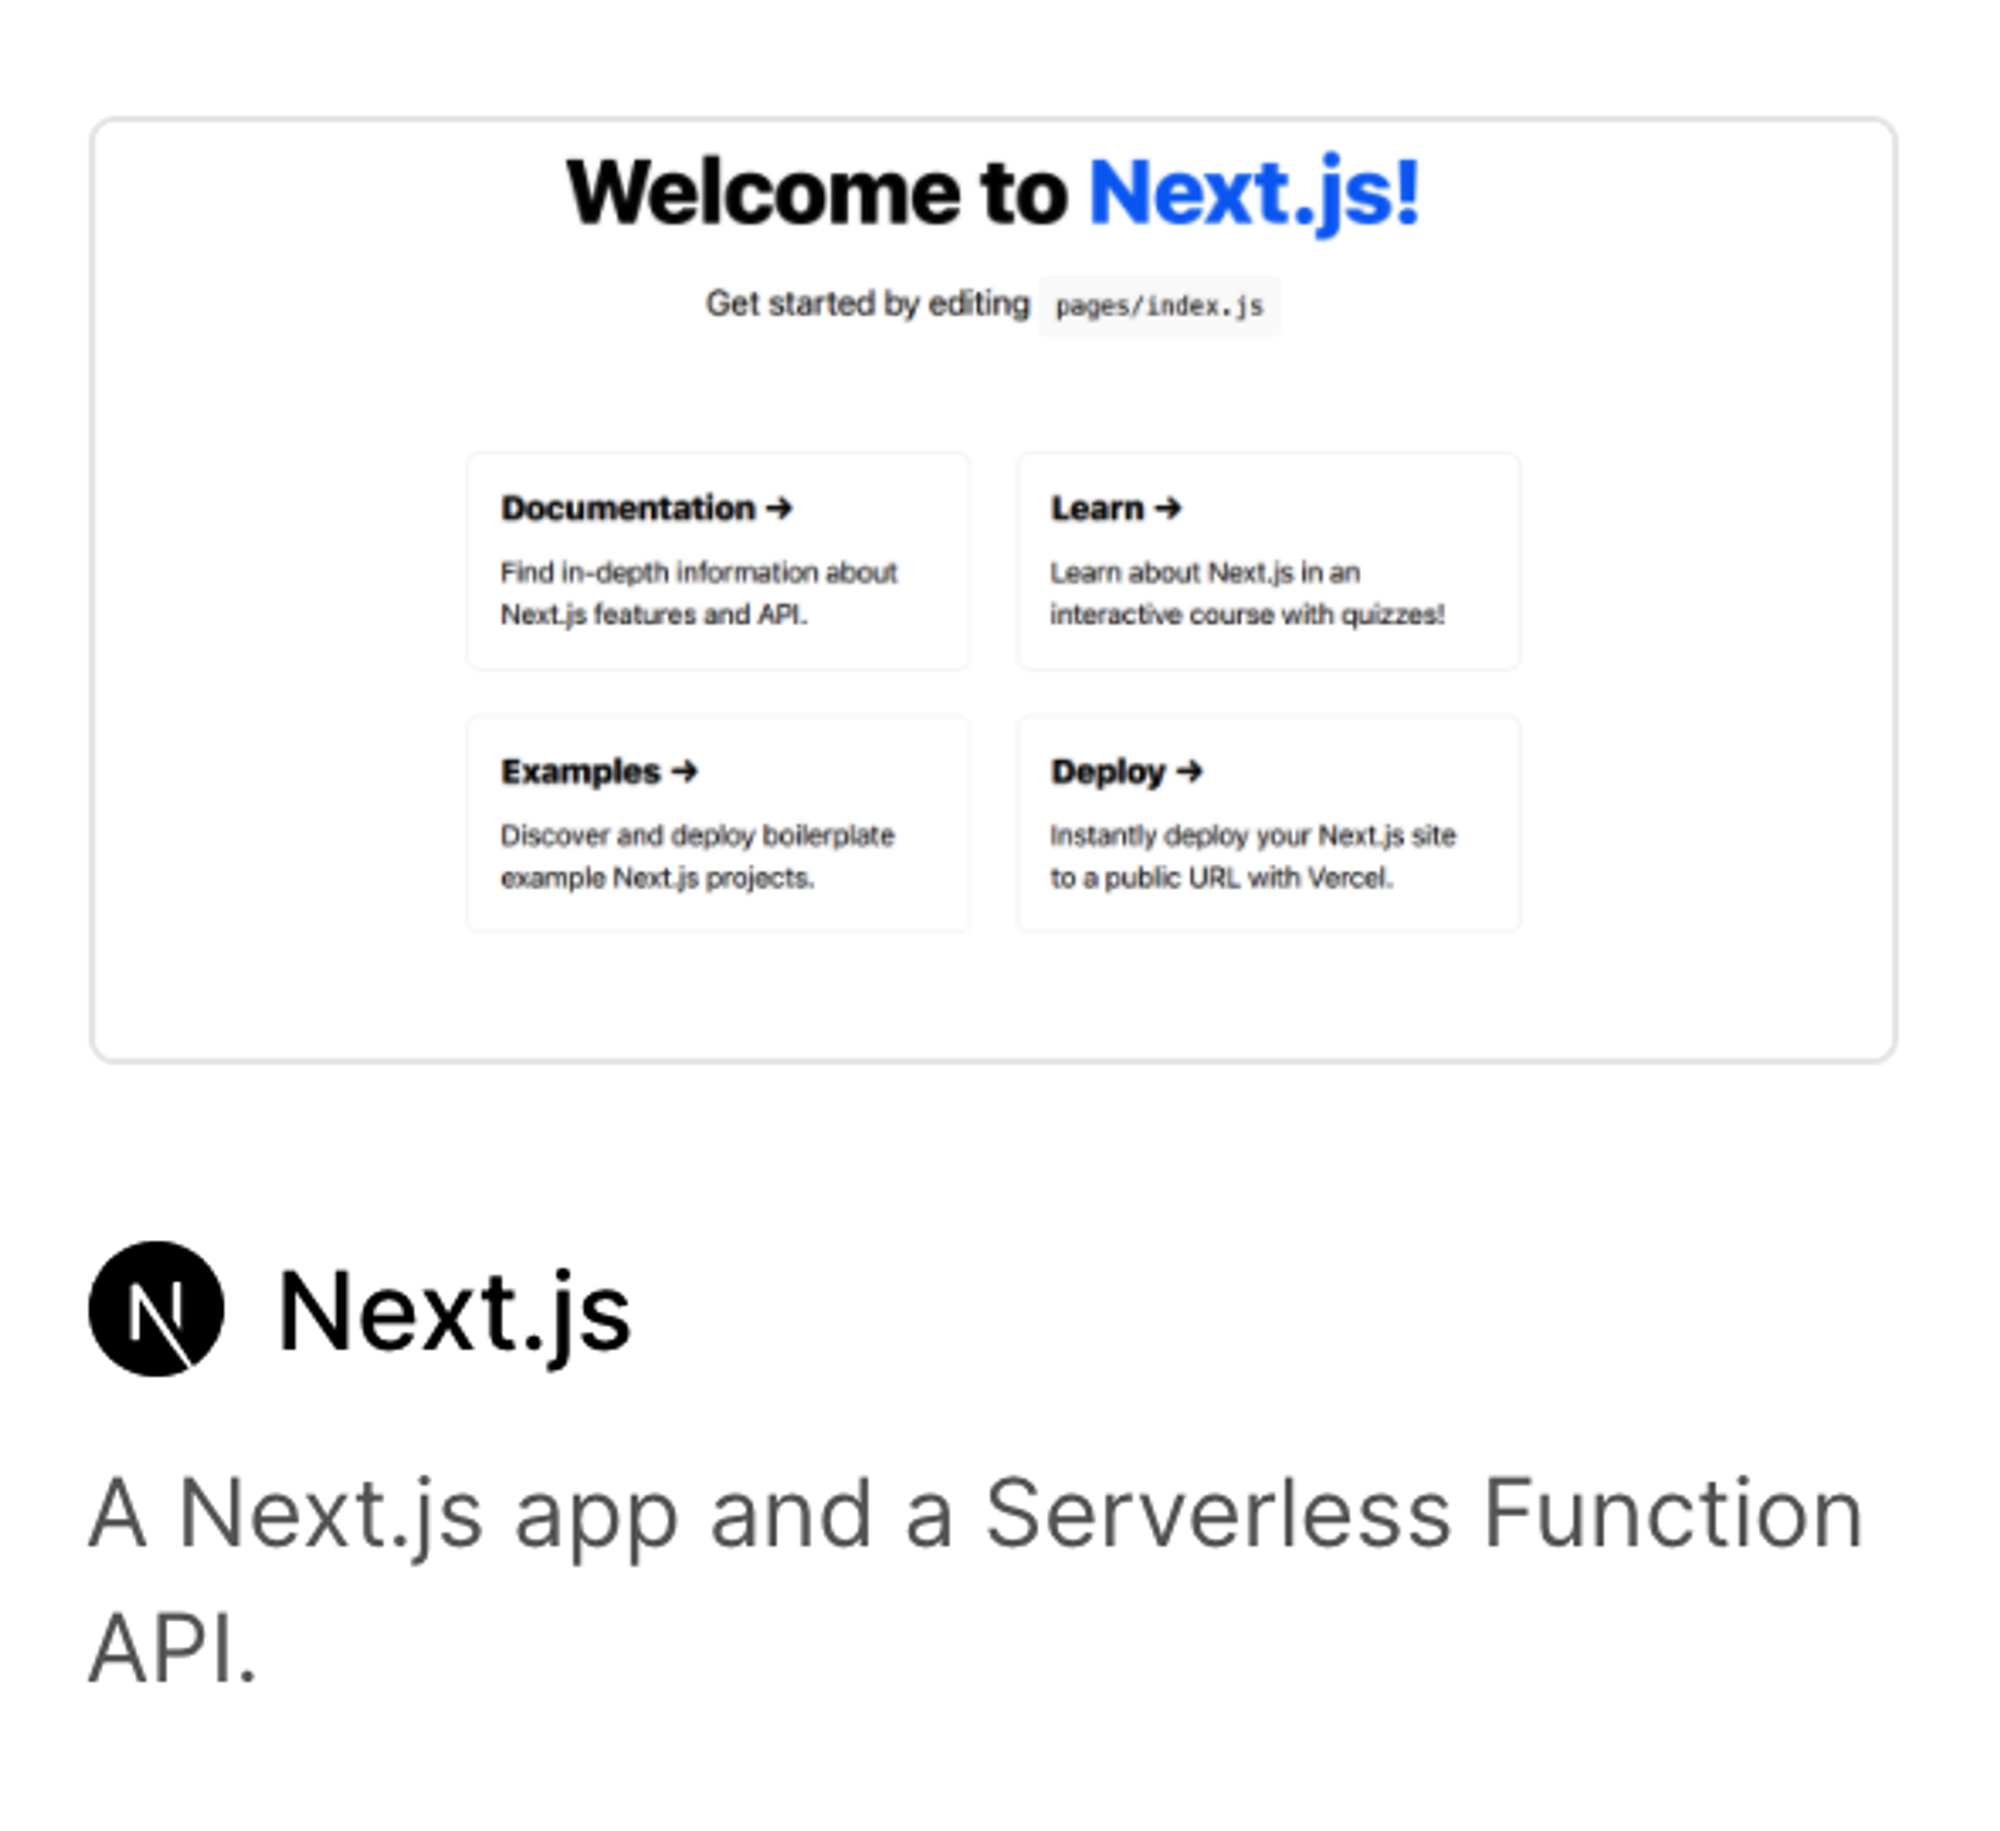
vercel dev进行本地调试,
访问页面 http://localhost:3000/api/helloworld
链接效果如图:


5. 部署上线
在控制台输入
vercel 即可开始自动部署,点击控制台输出的Preview后面的链接即可预览部署效果。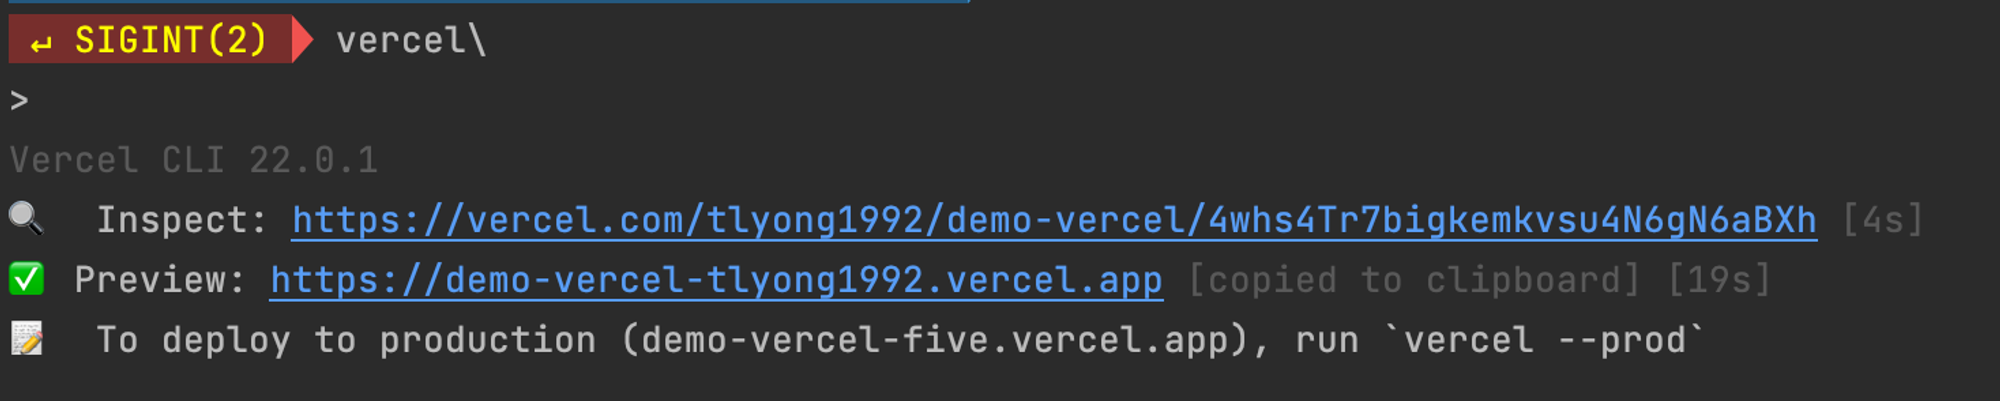
数据库持久化
- API接口最基本的增删改查等功能,依托于数据库持久化。这里我们选择接入免费的云数据库。
- https://cloud.mongodb.com 提供的Mongodb数据库举例,512M免费存储额度,个人使用已经绰绰有余。
当然还有 db4free.net、mlab.com等其他云数据库网站,除此之外还有免费的rabbitMQ,kafka等。
1.创建数据库
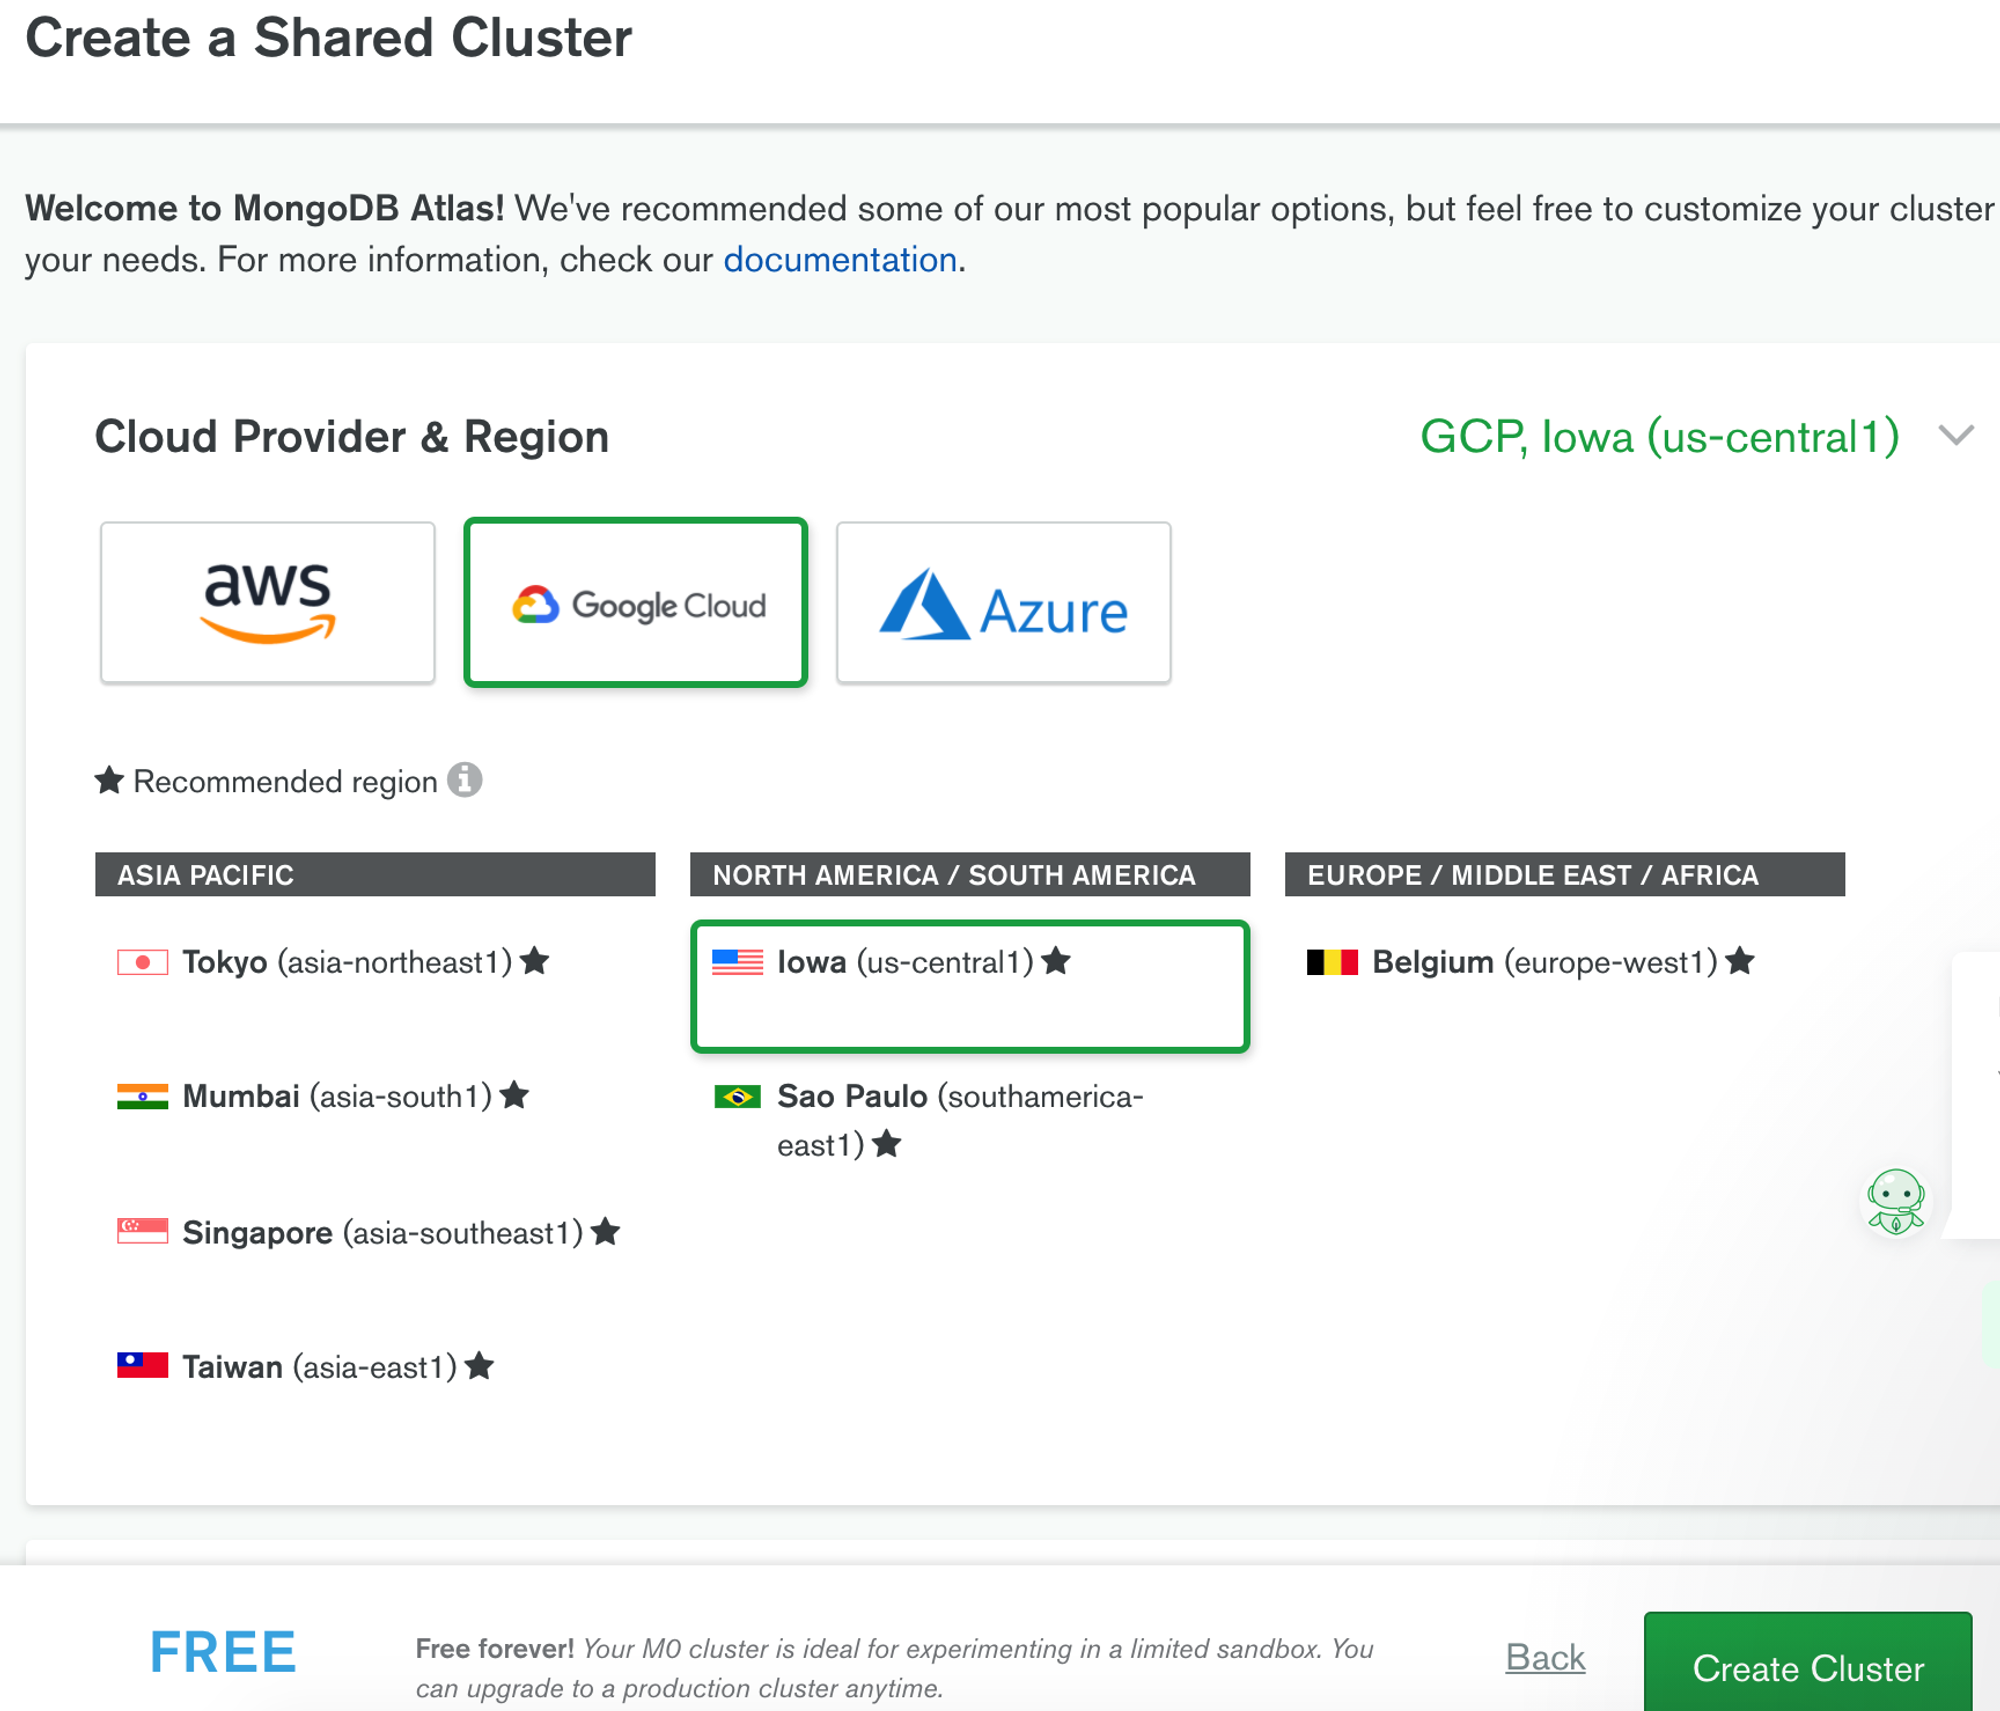
在 https://cloud.mongodb.com 注册一个账号,注册完毕后进入找到 Create a cluster, 选择Free的免费方案
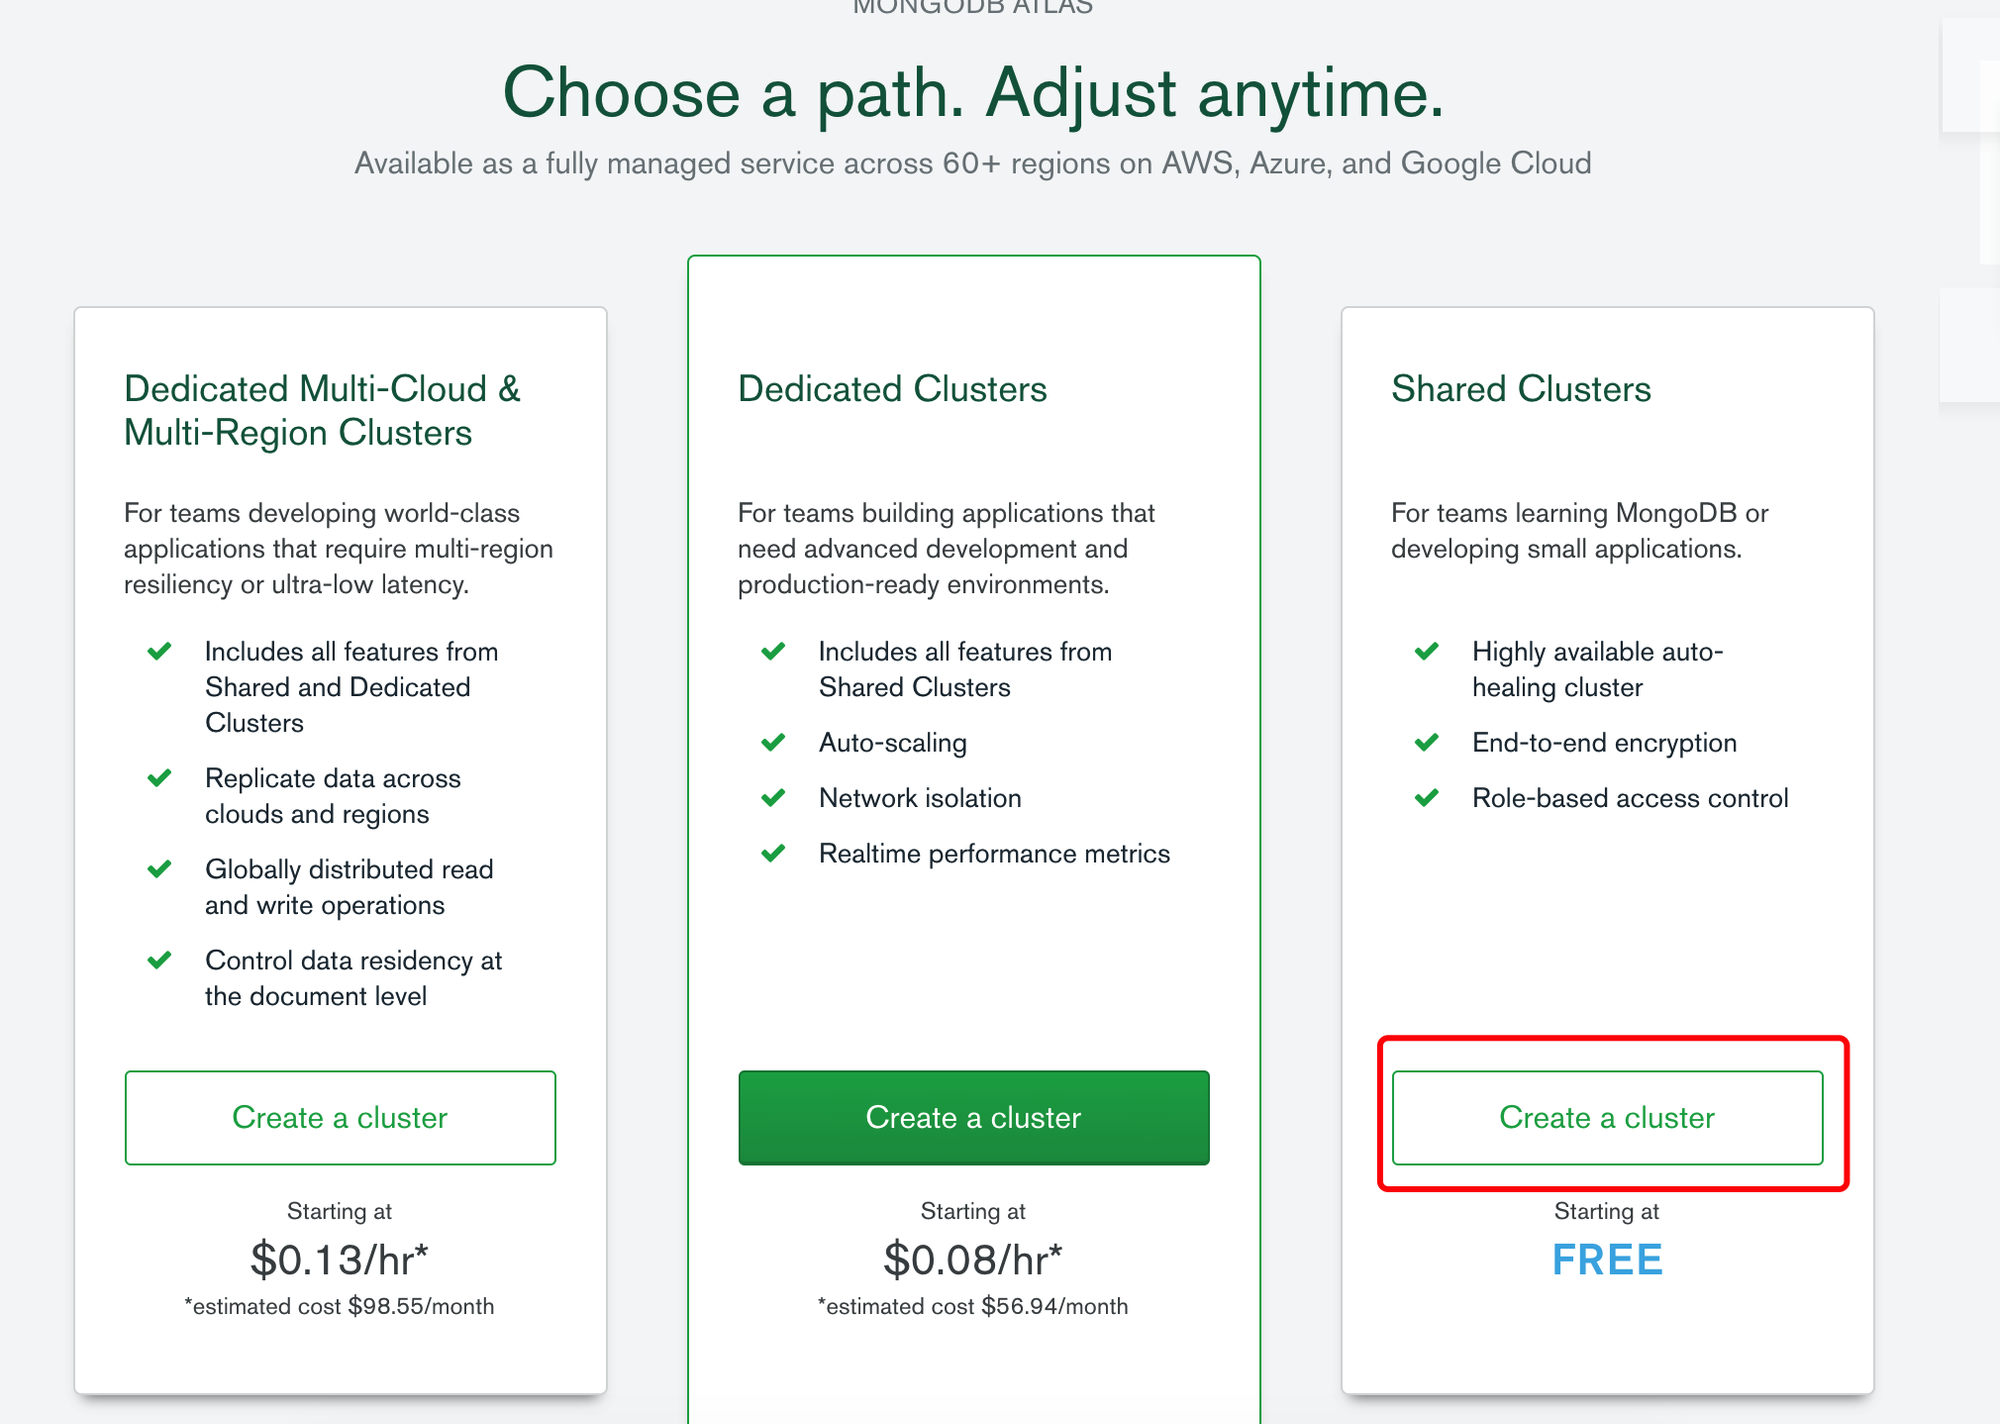
配置服务器地点和服务提供商,(举例用的是Google Cloud,北美中部的服务器);等待1-3分钟后创建完毕:
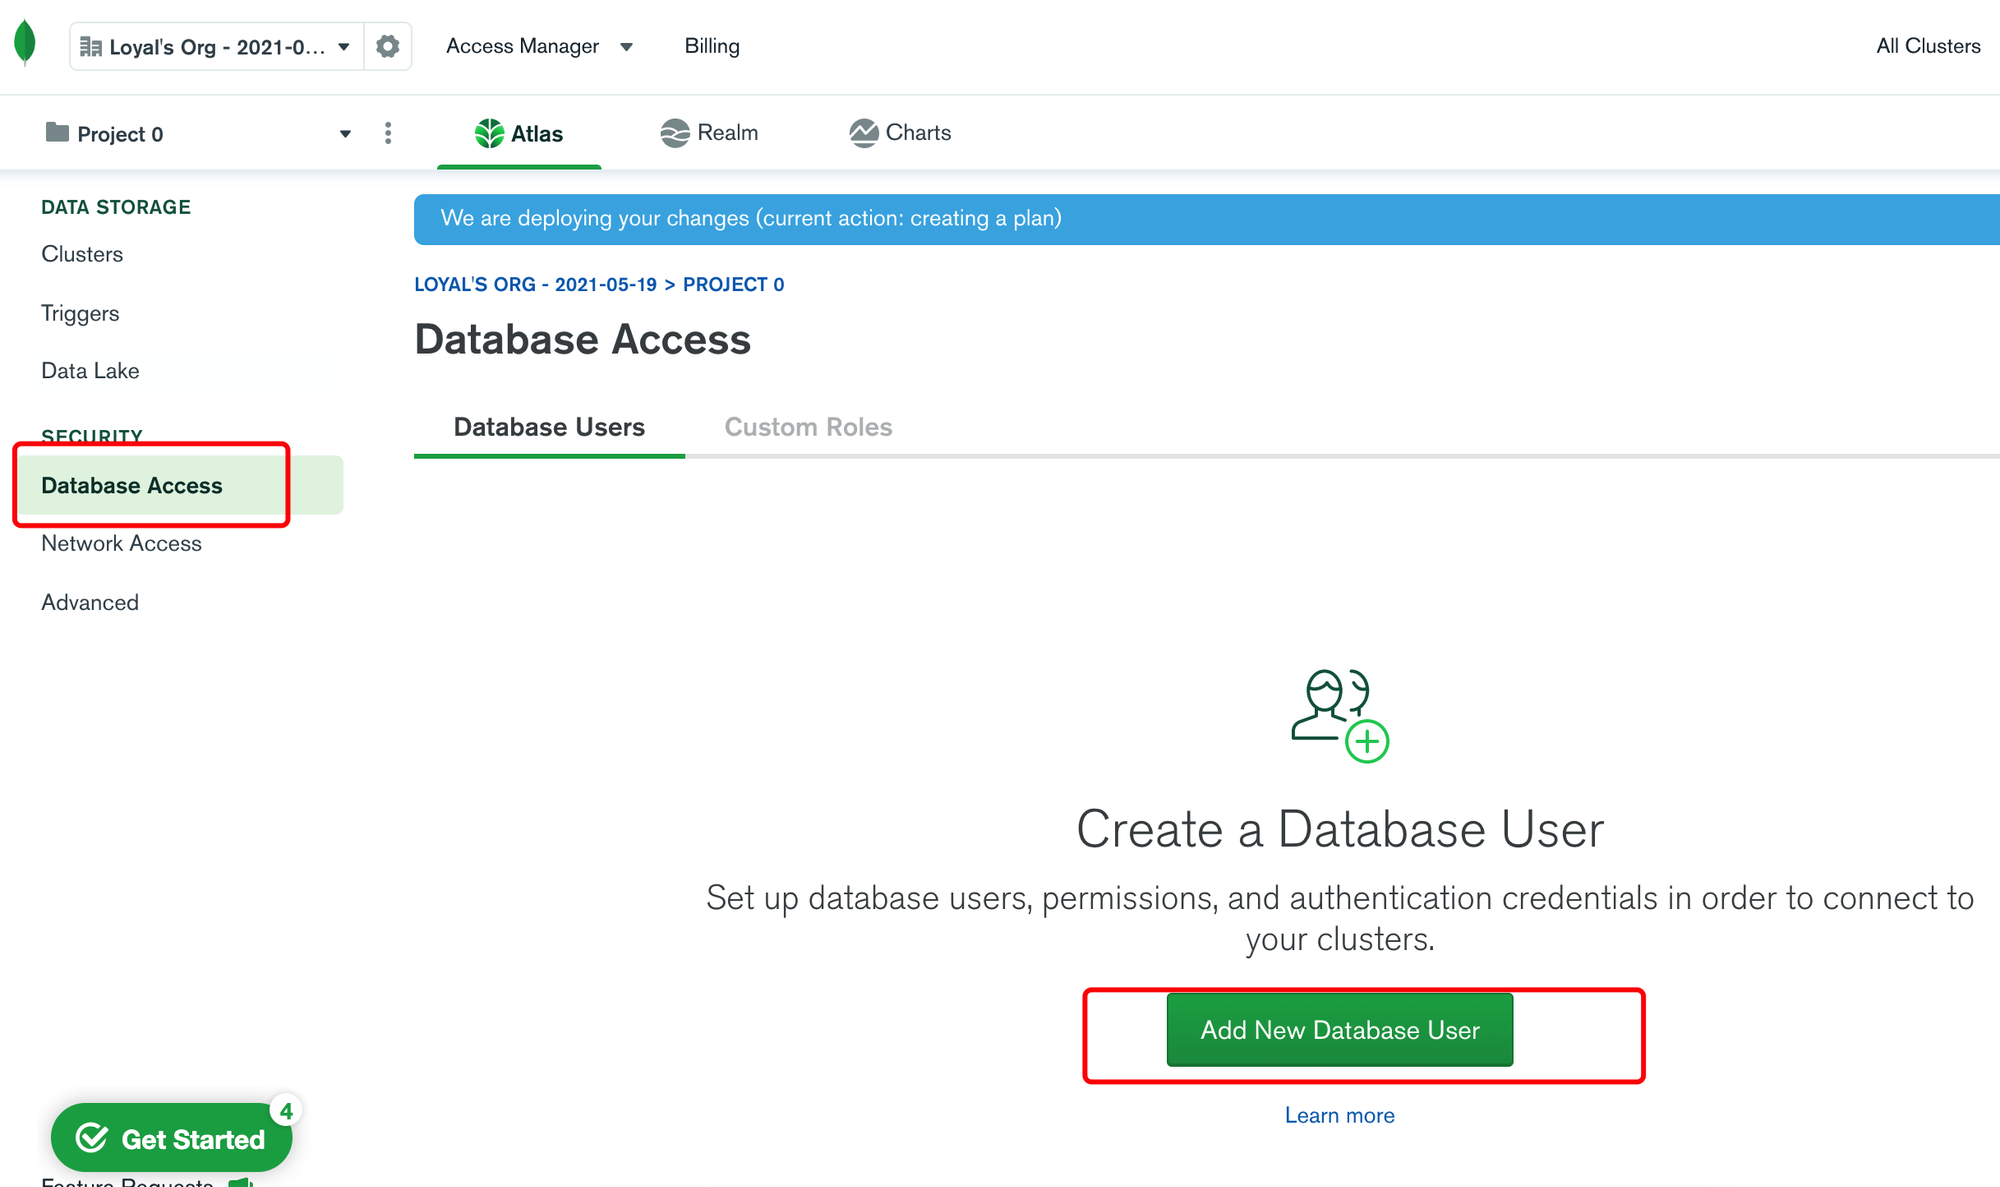
配置连接参数
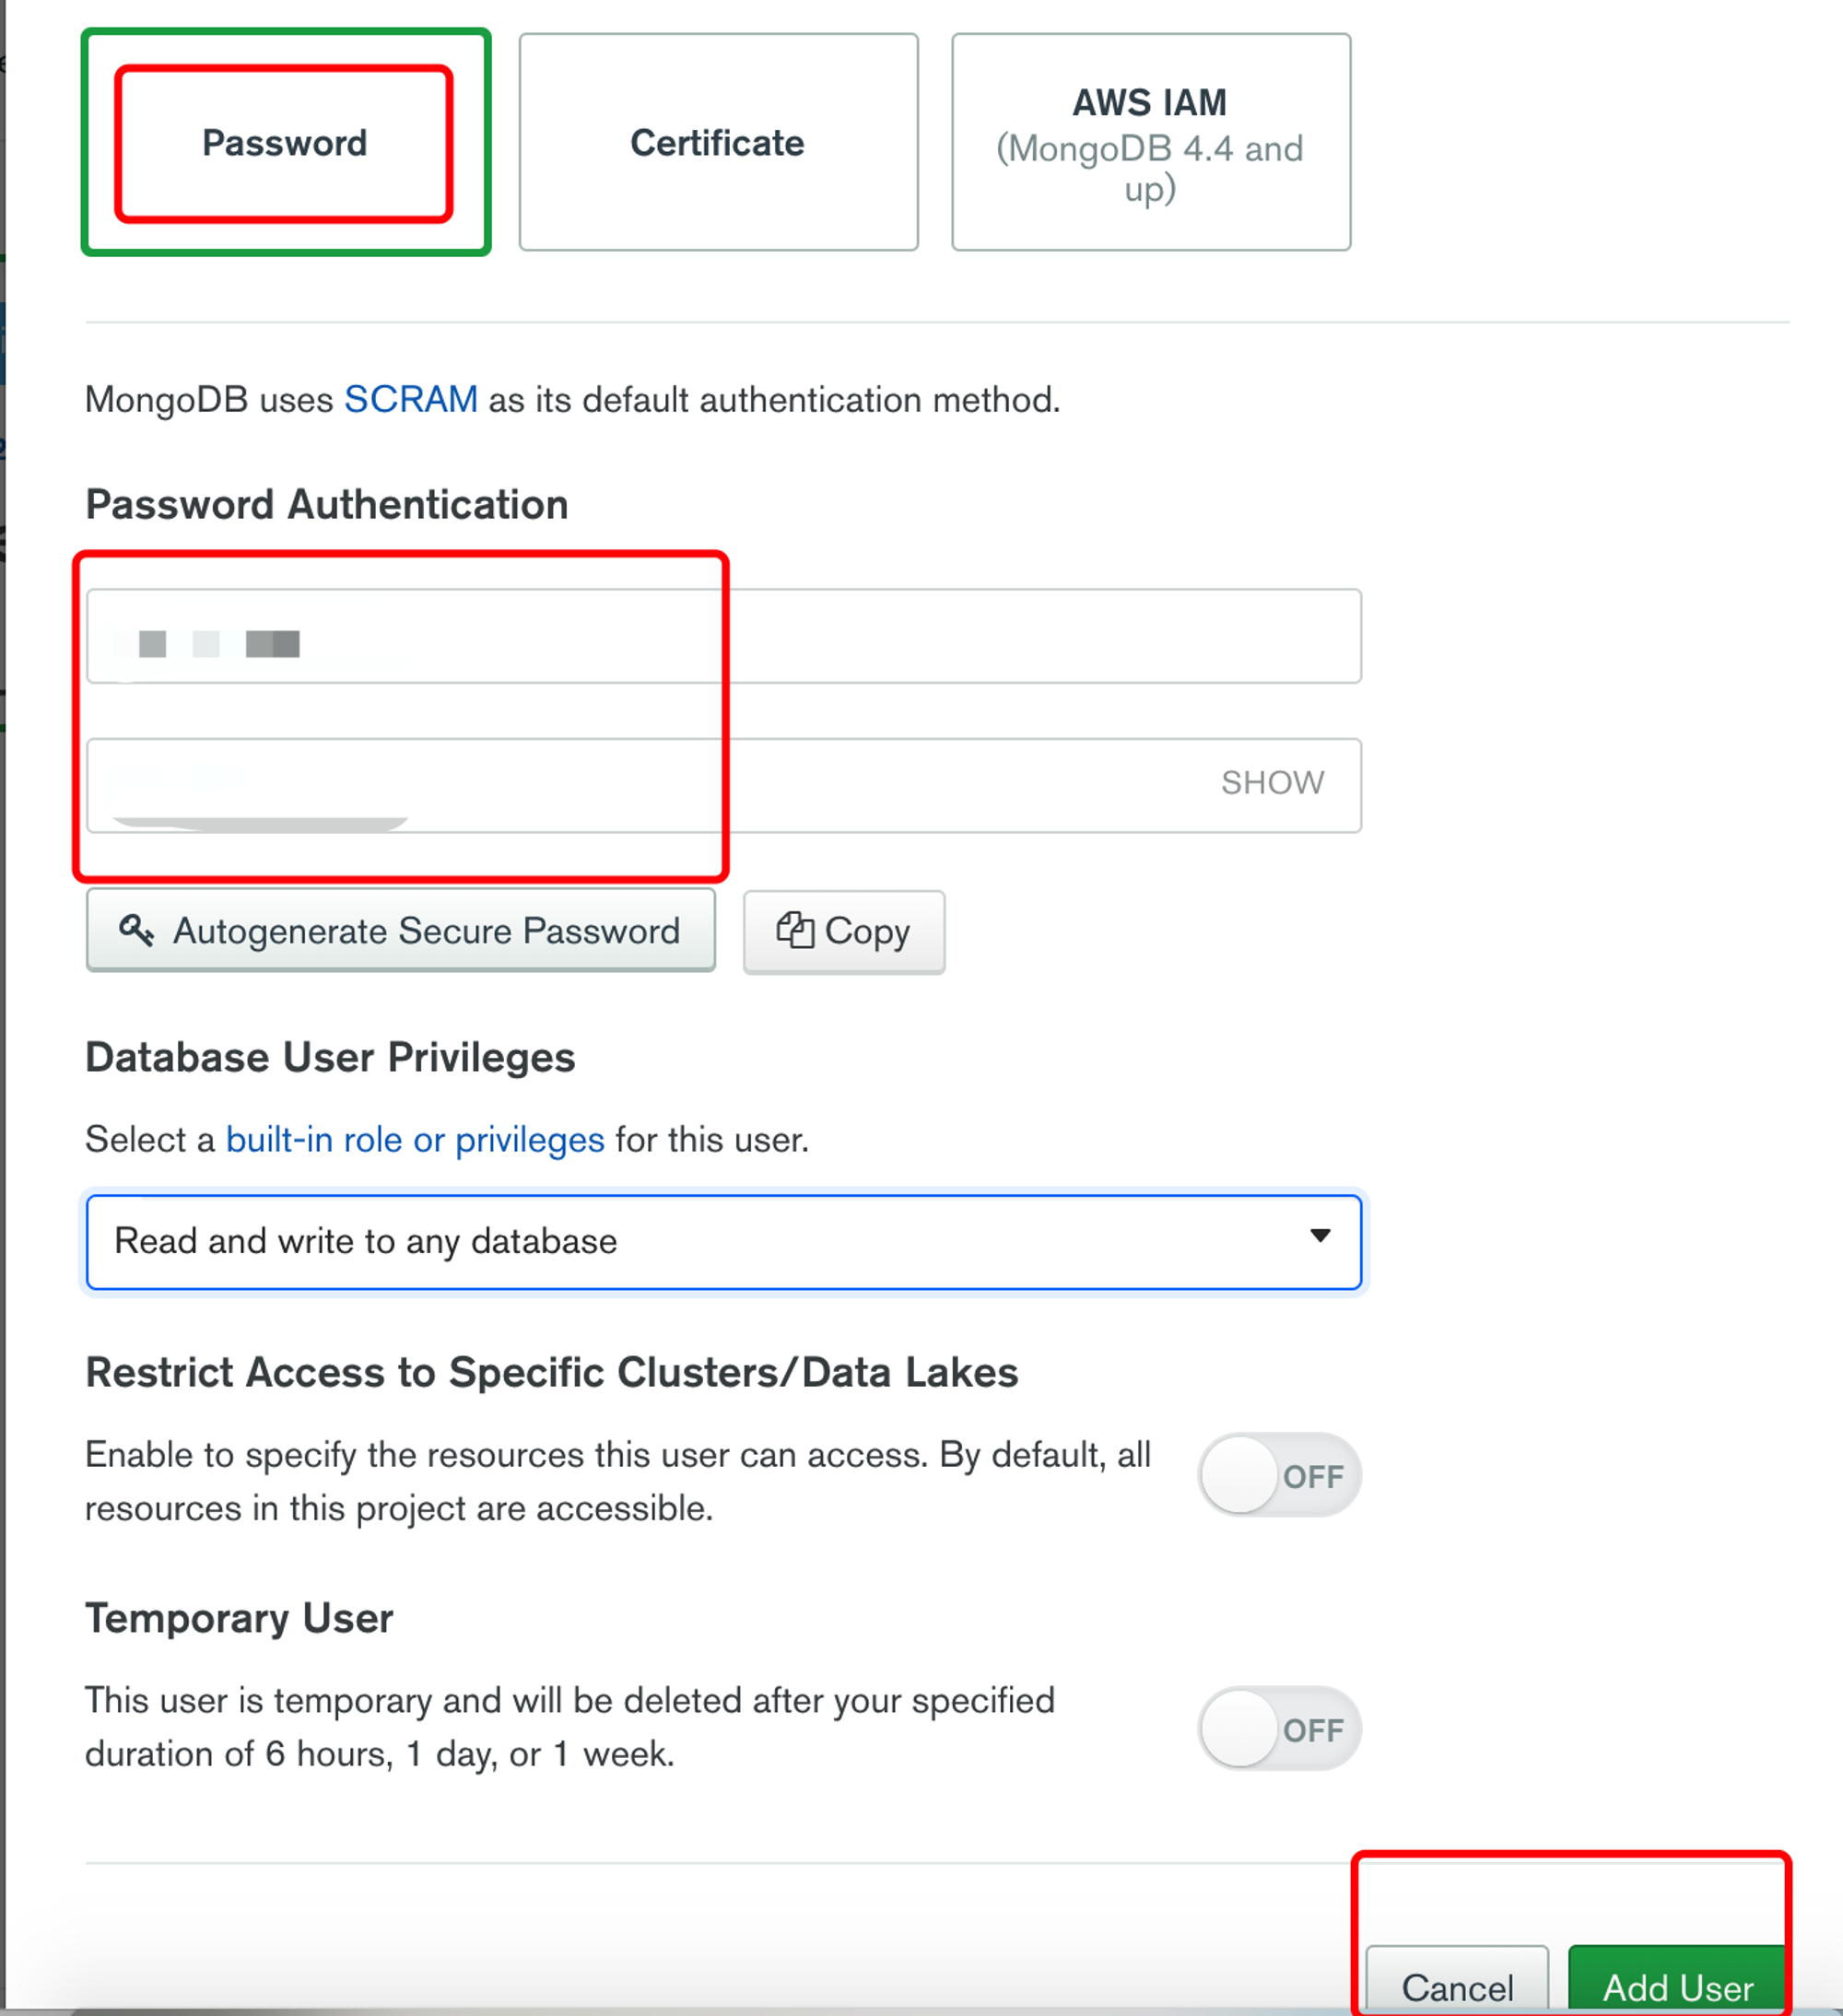
创建一个访问用户,并选择用Password密码的形式连接:
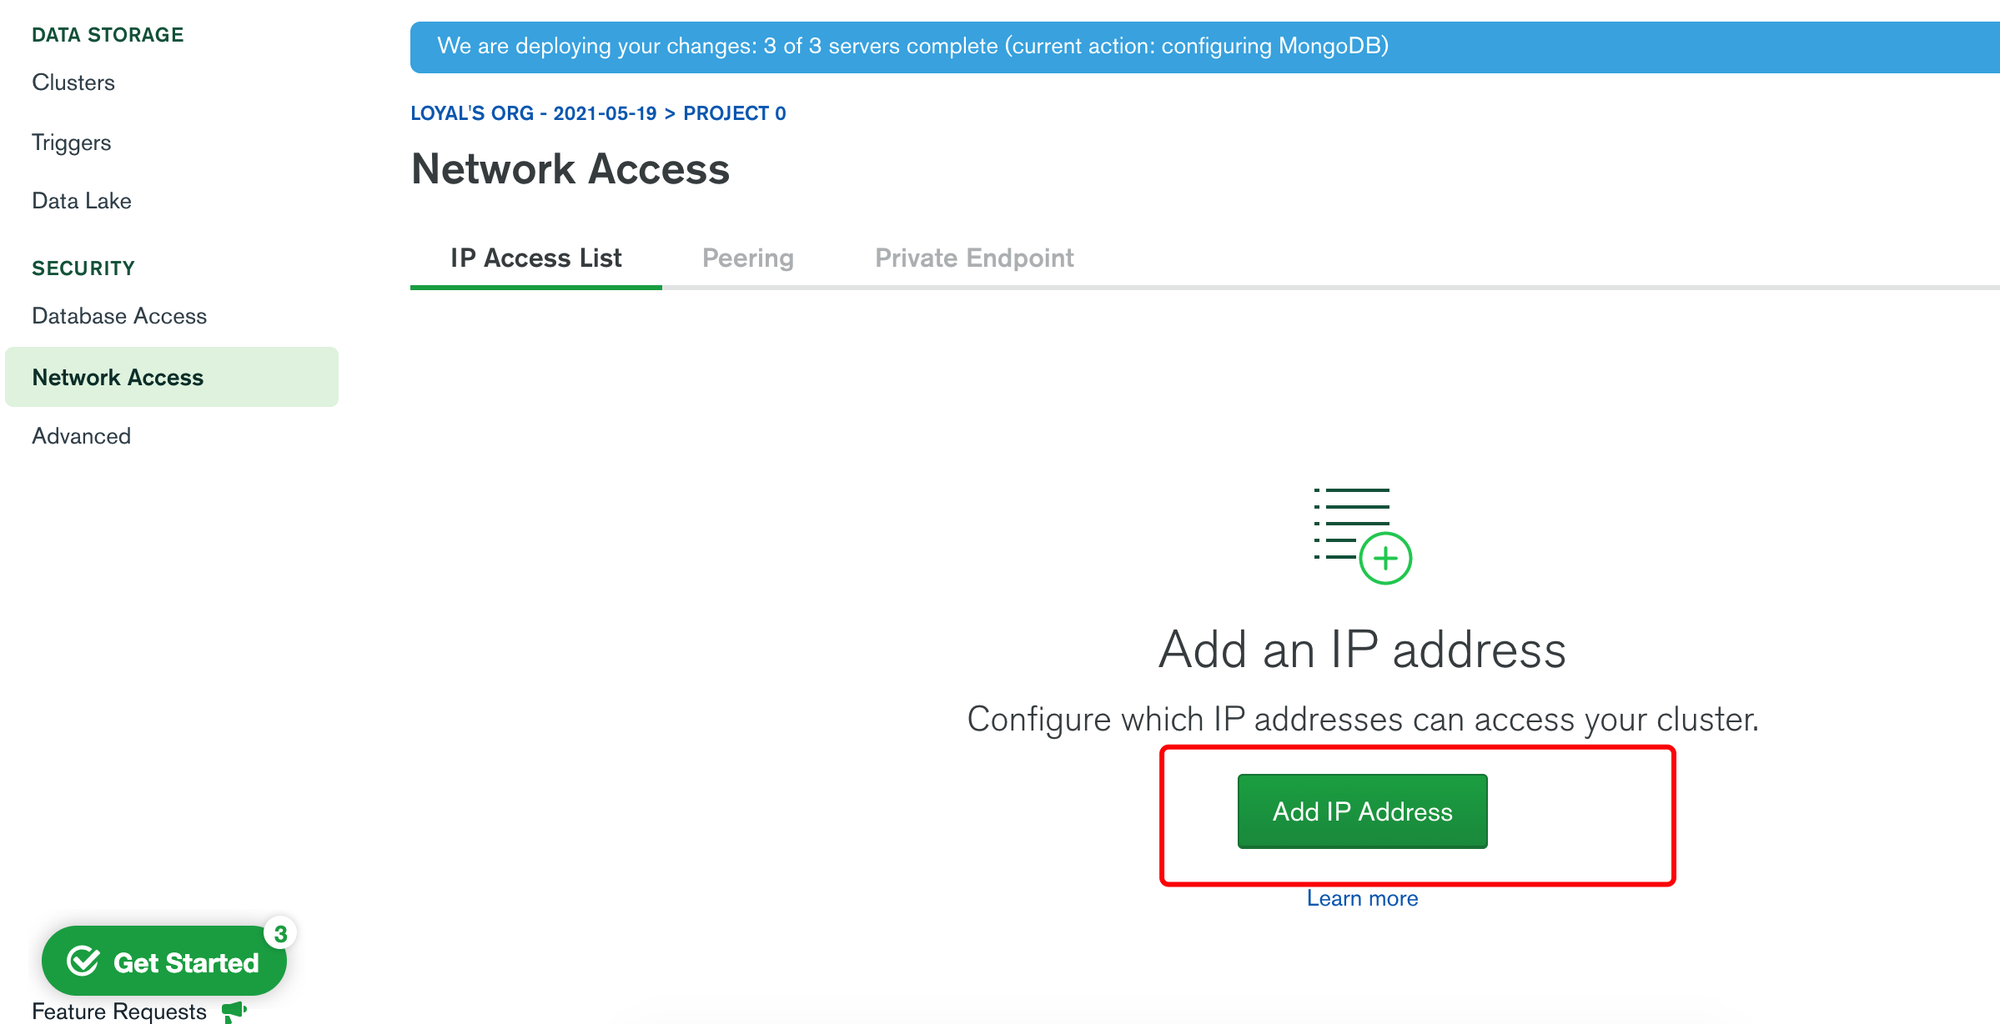
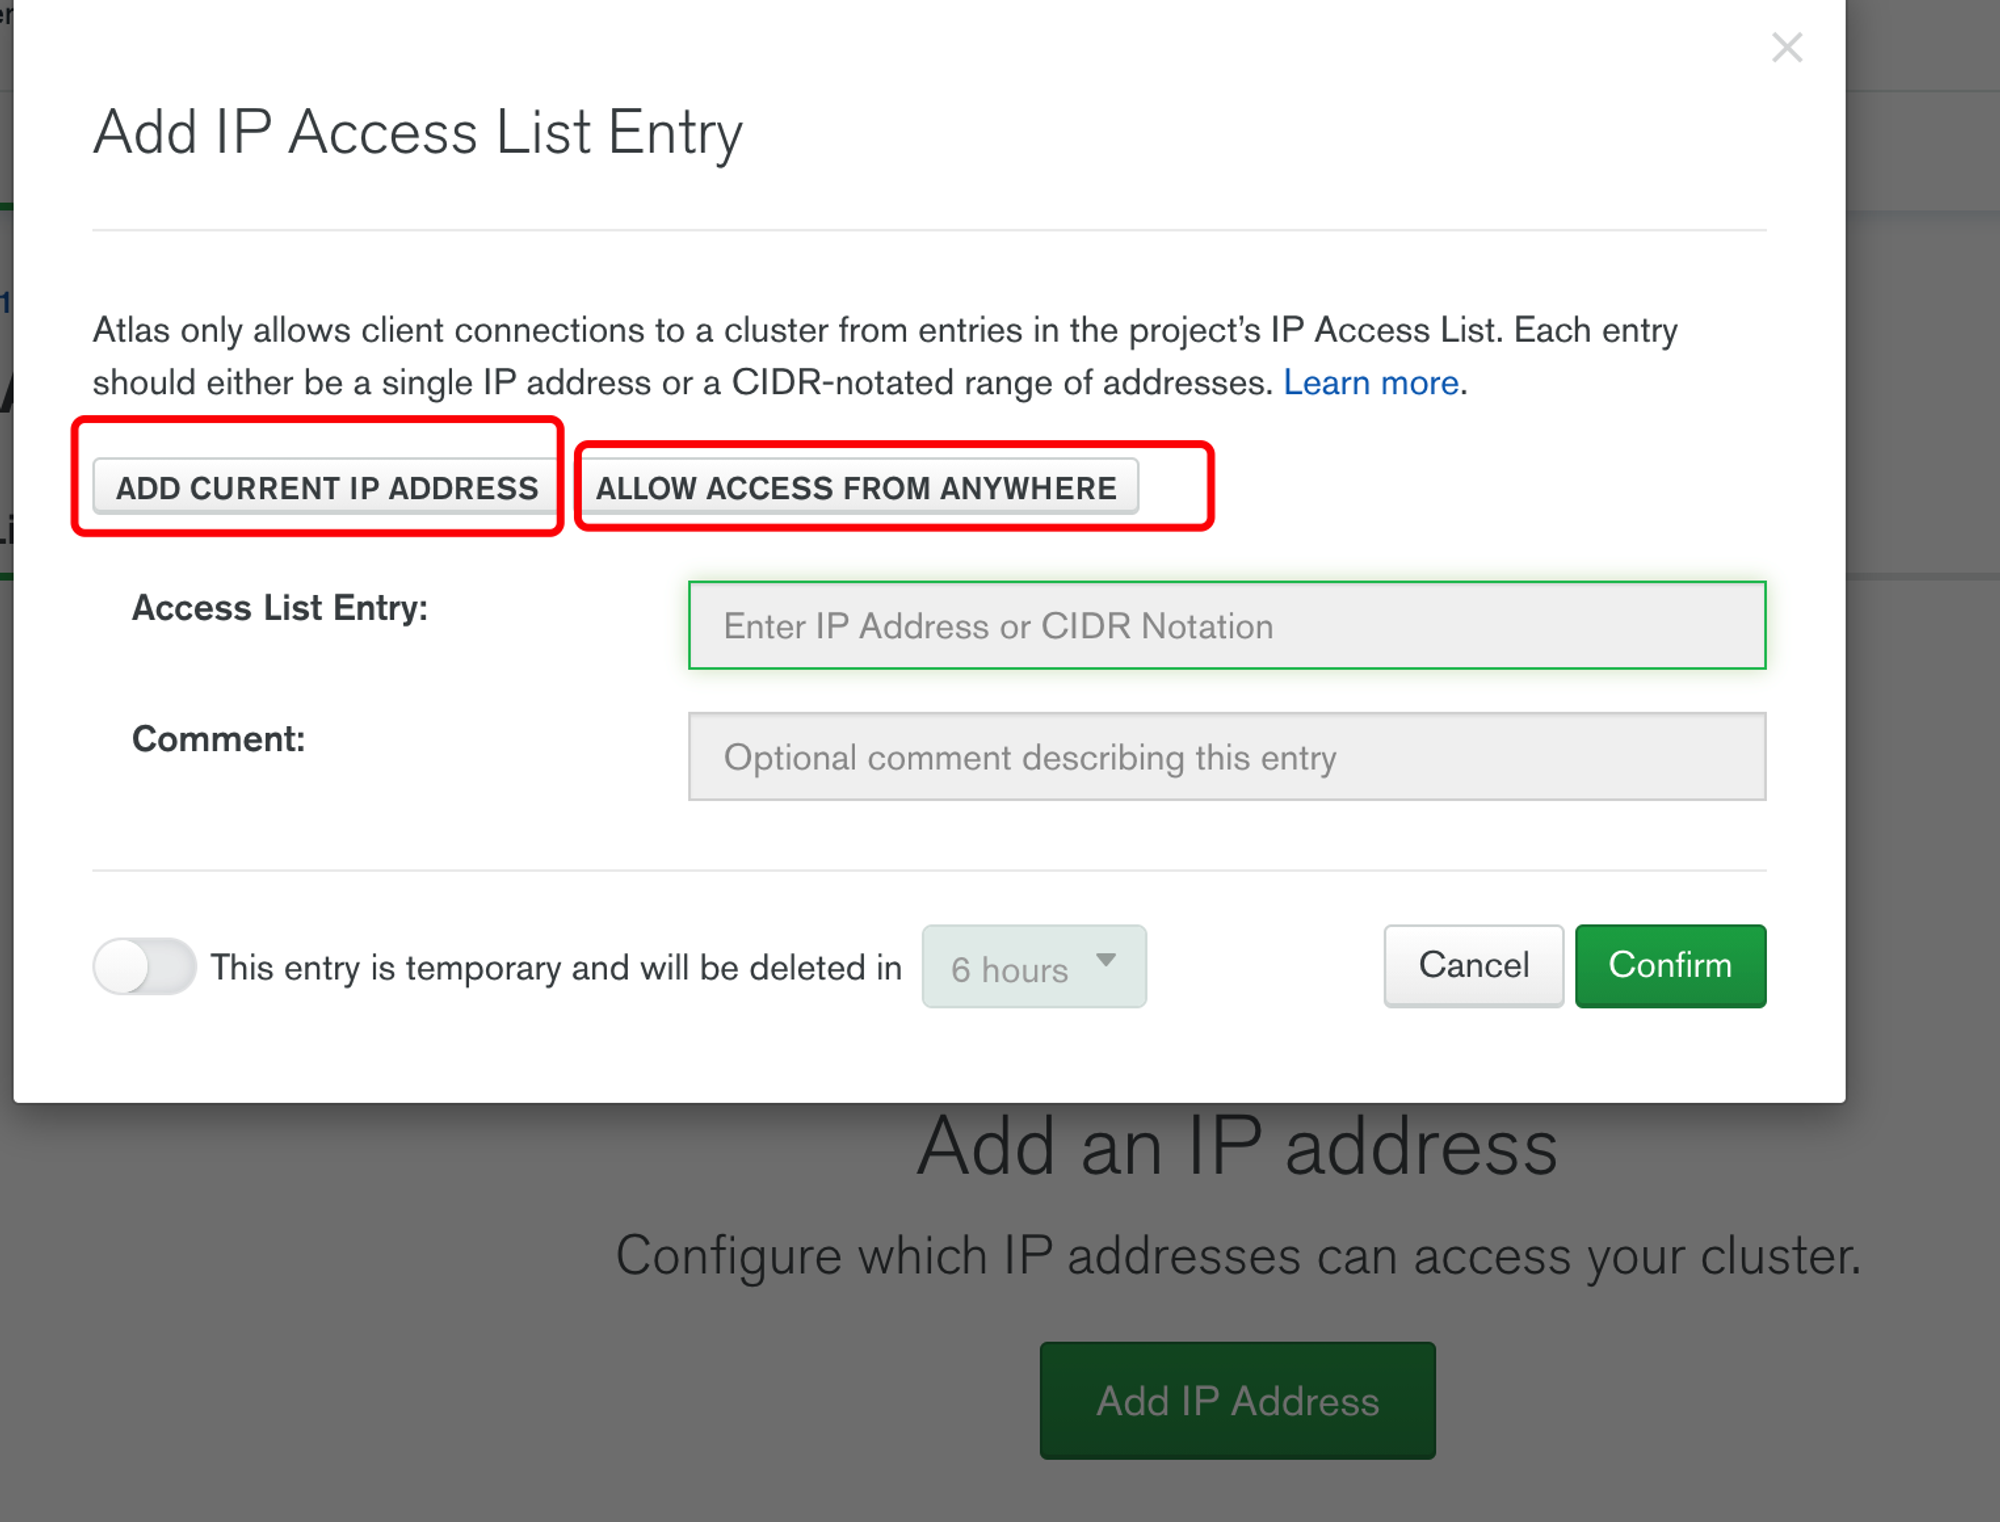
添加允许访问改数据库的IP地址:这里可以点Add current ip address 表示添加当前电脑ip地址,点击 Allow access from anywhere 表示允许所有网络ip地址访问该数据库(这样可能会有风险)
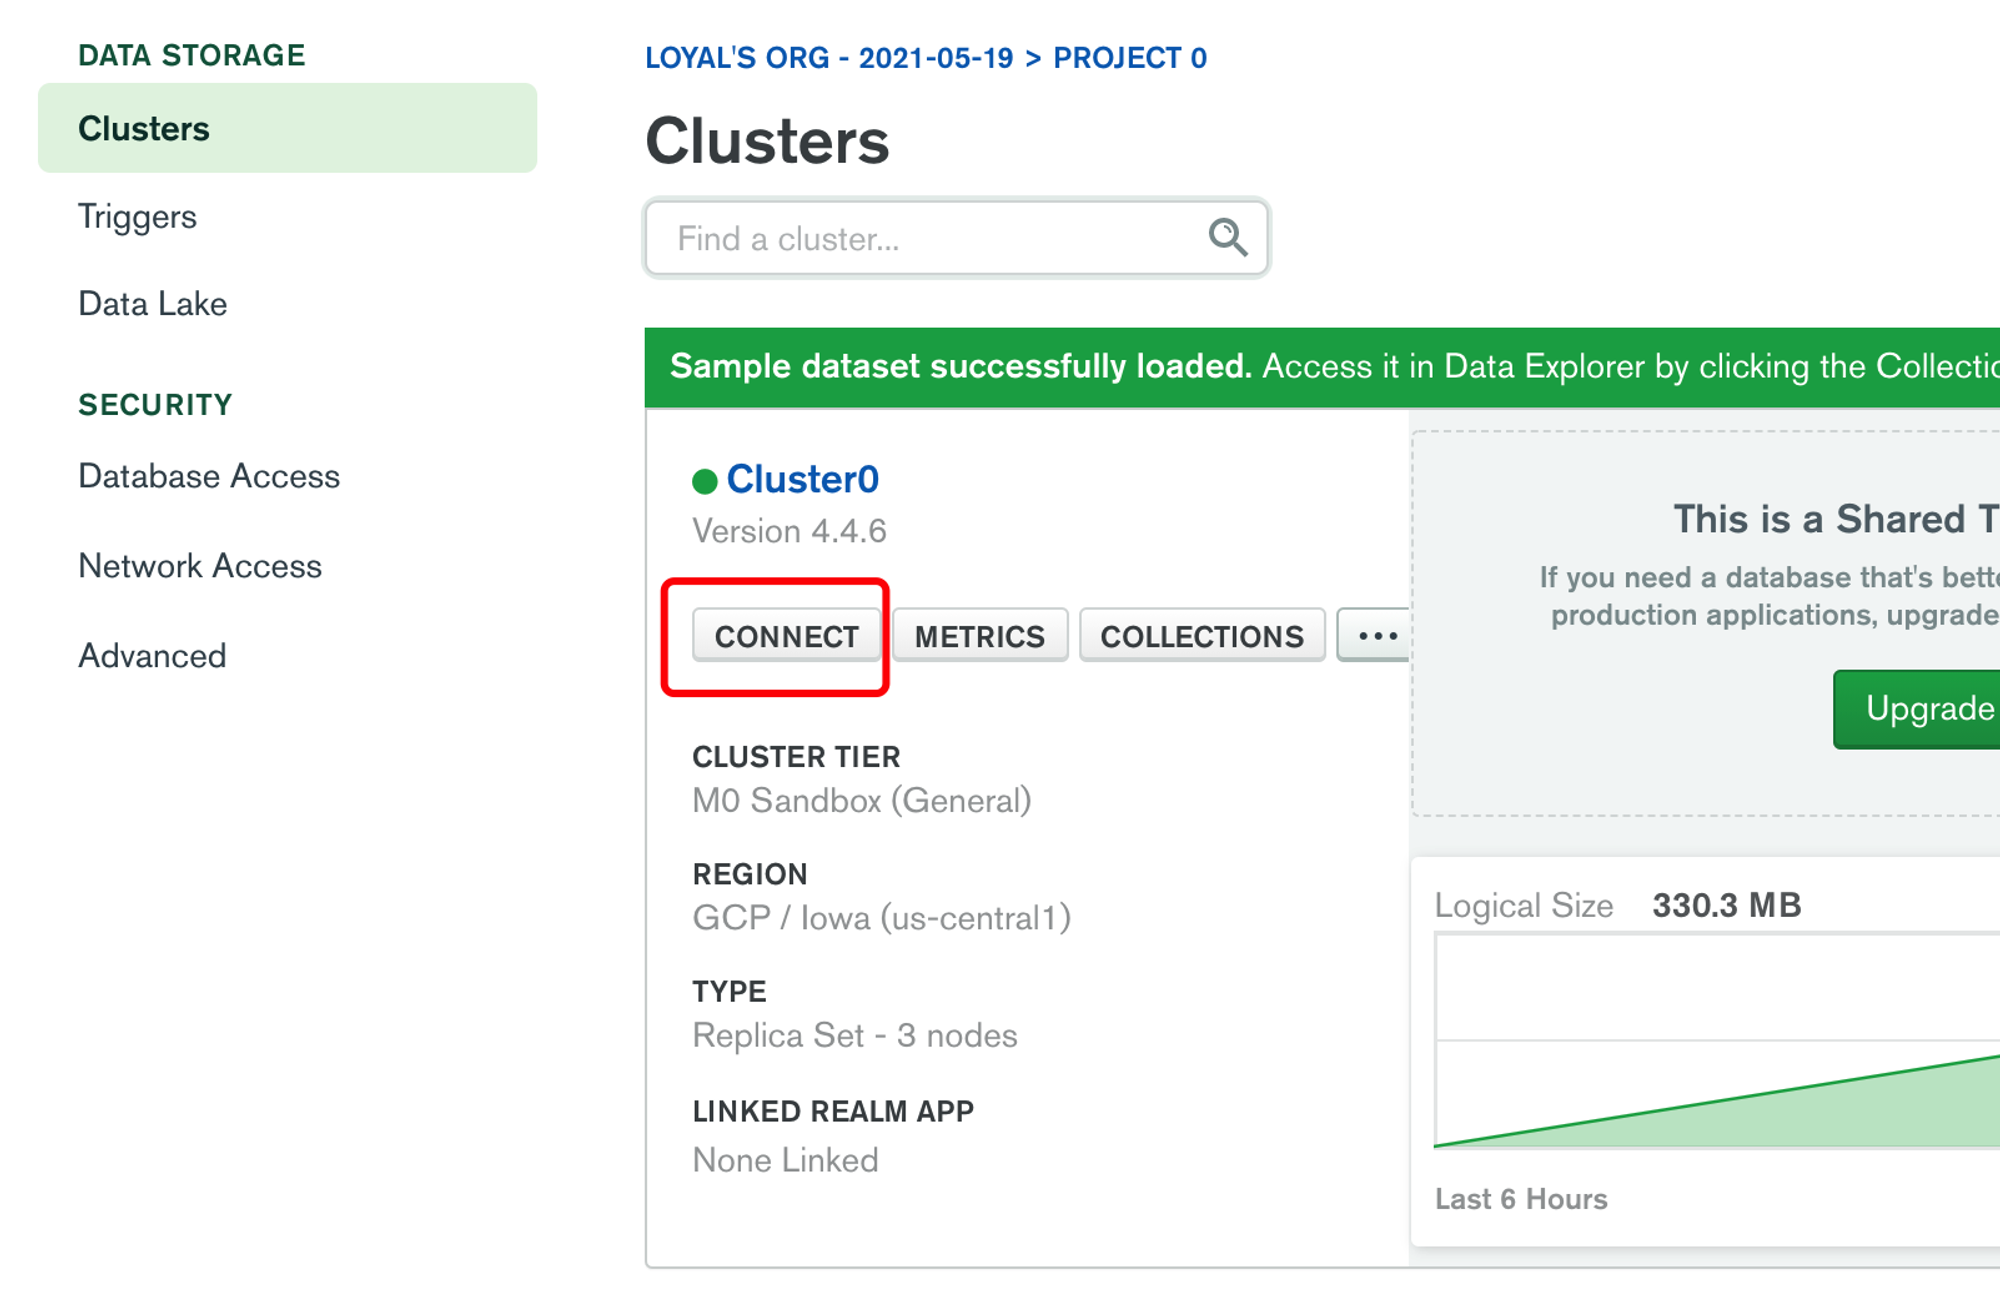
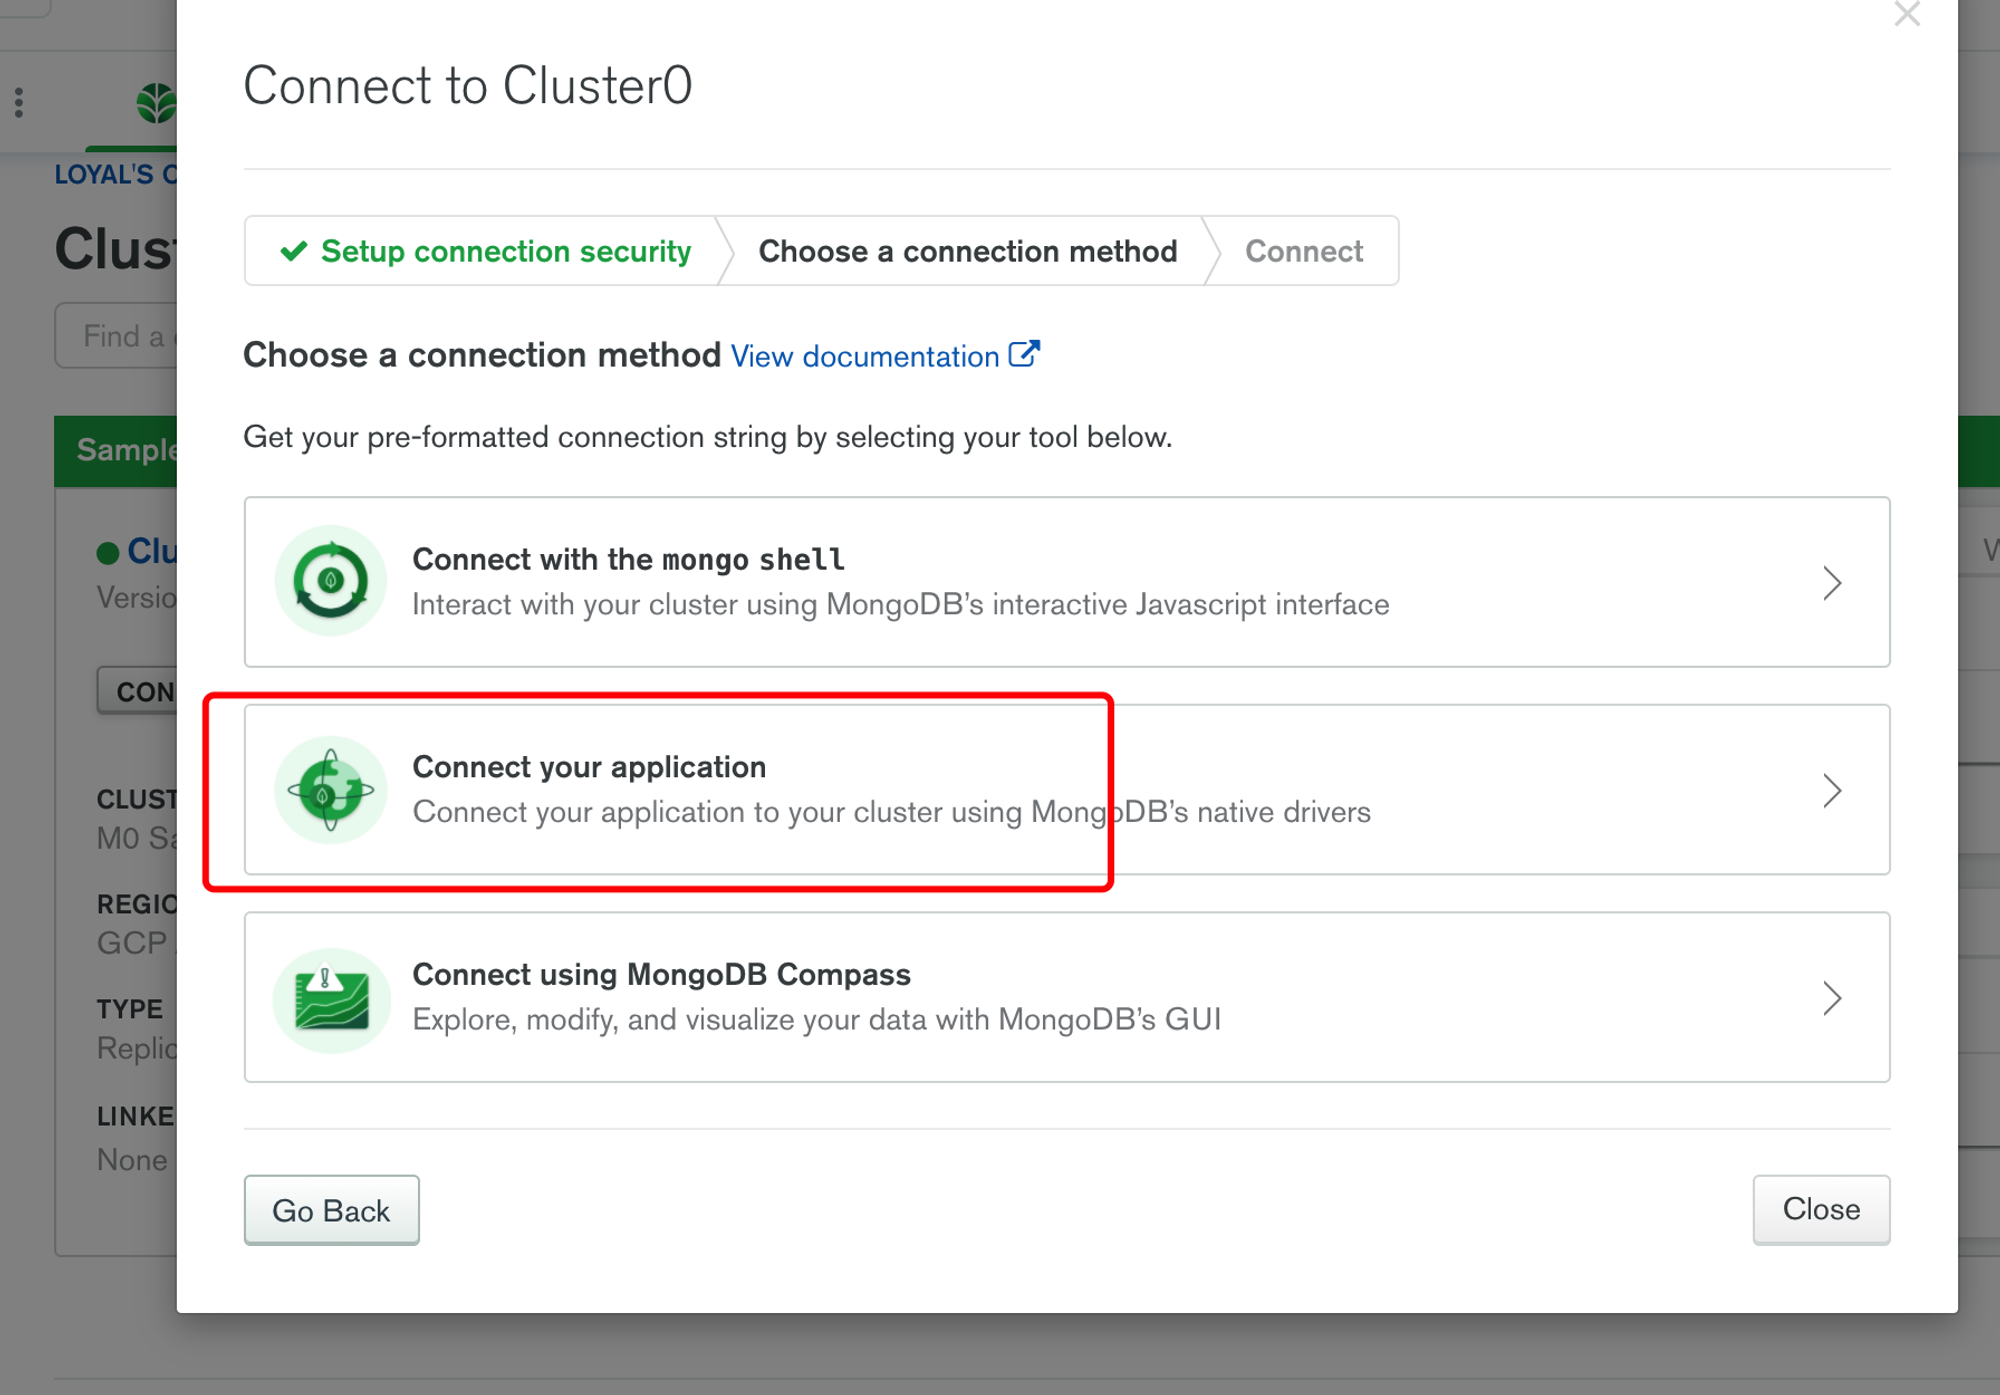
客户端连接数据库:
点击connect
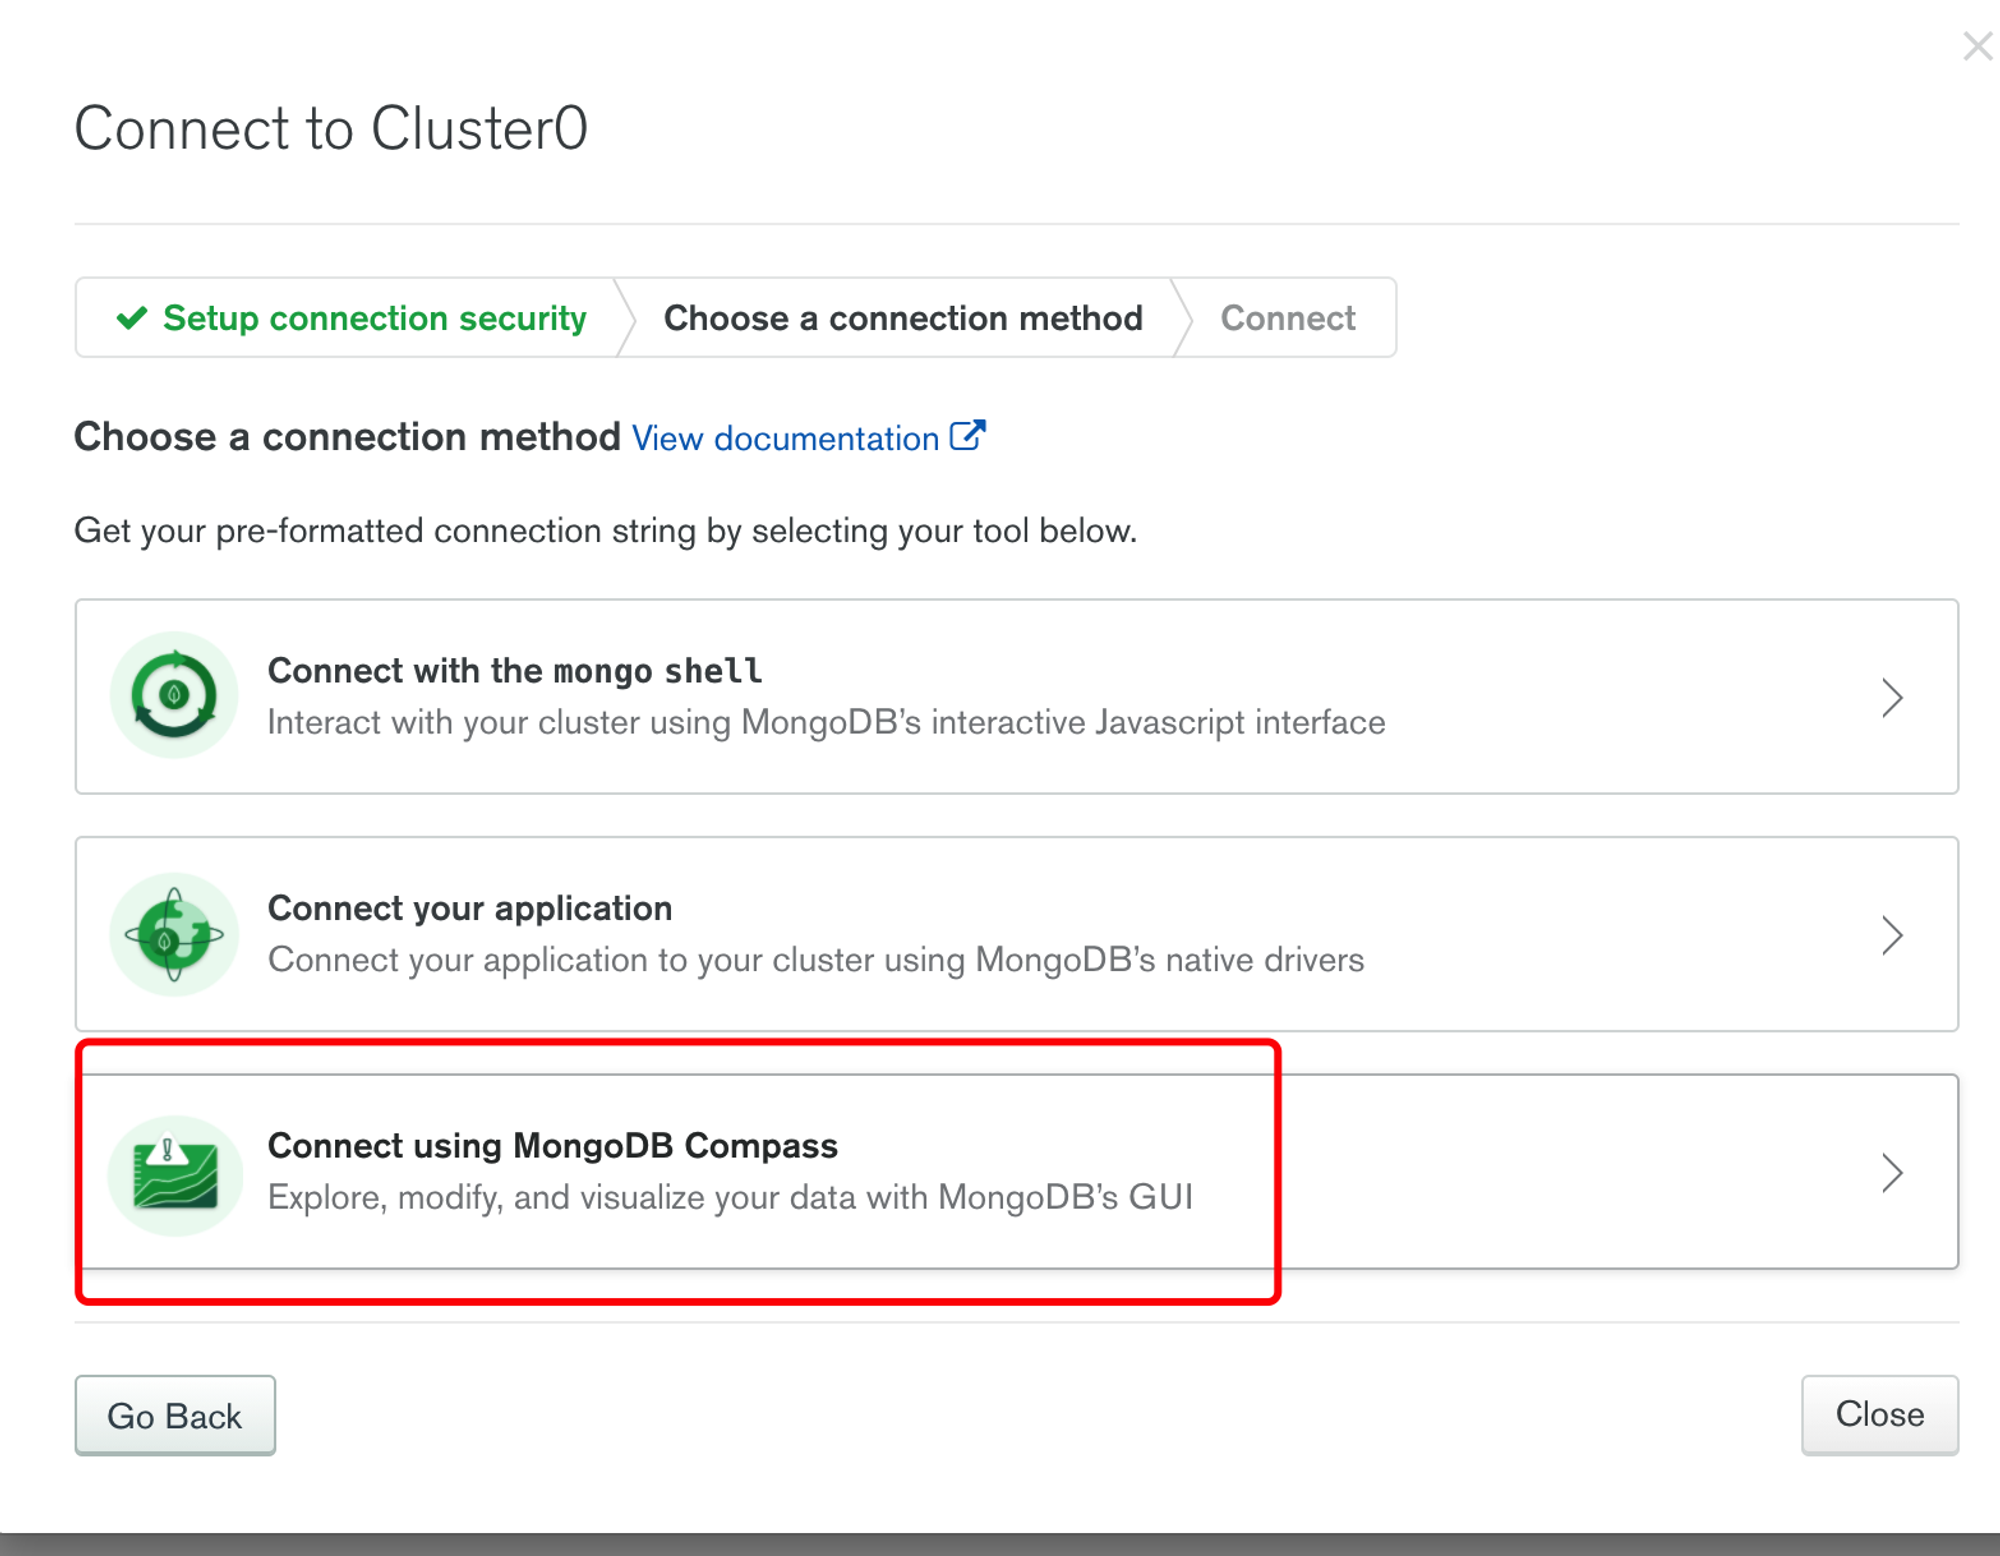
点击第三个Connect using MongoDB Compass,采用图形界面连接;
复制下面的连接代码

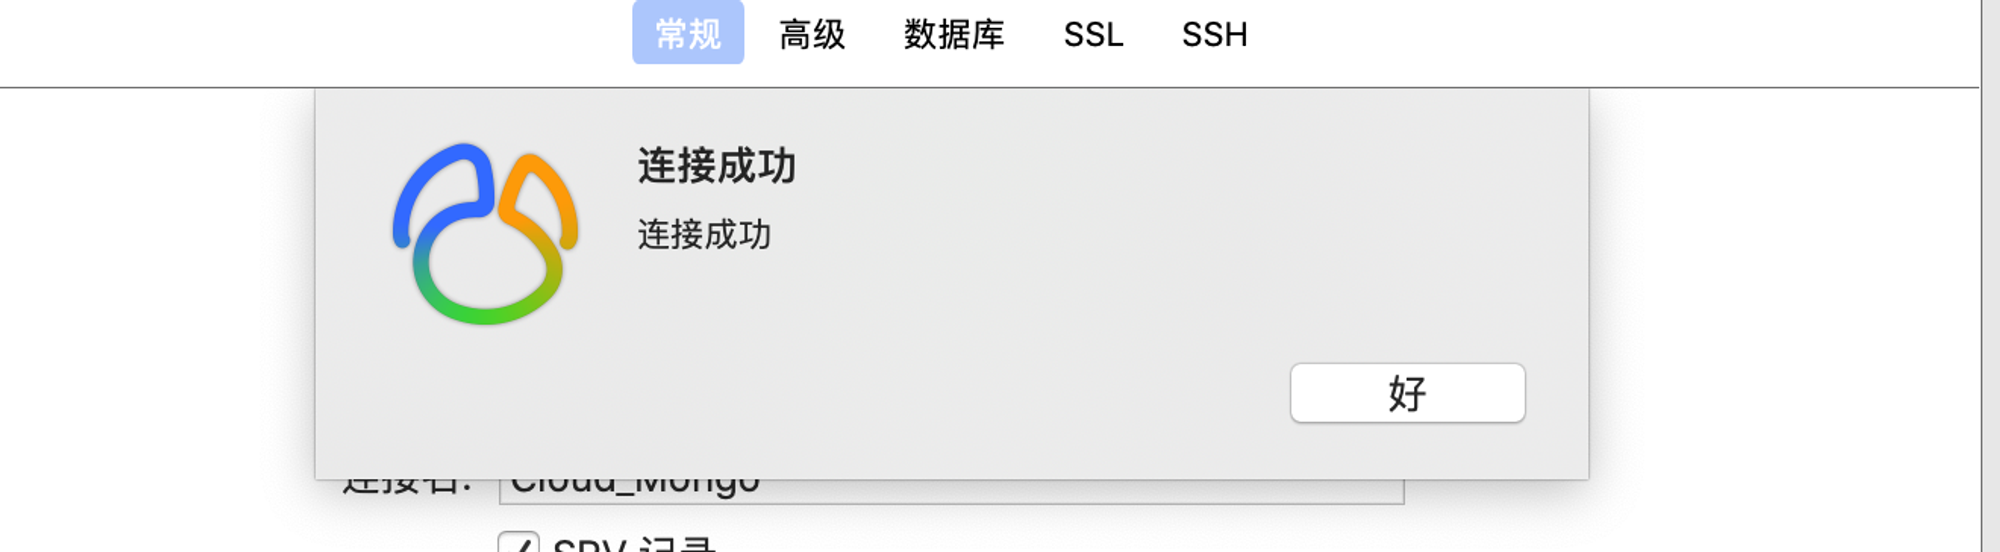
打开Navicat,选择新建MongoDB,在URI中输入刚才复制的代码,并且将
<password>密码部分改成你实际设置的密码;点击测试连接。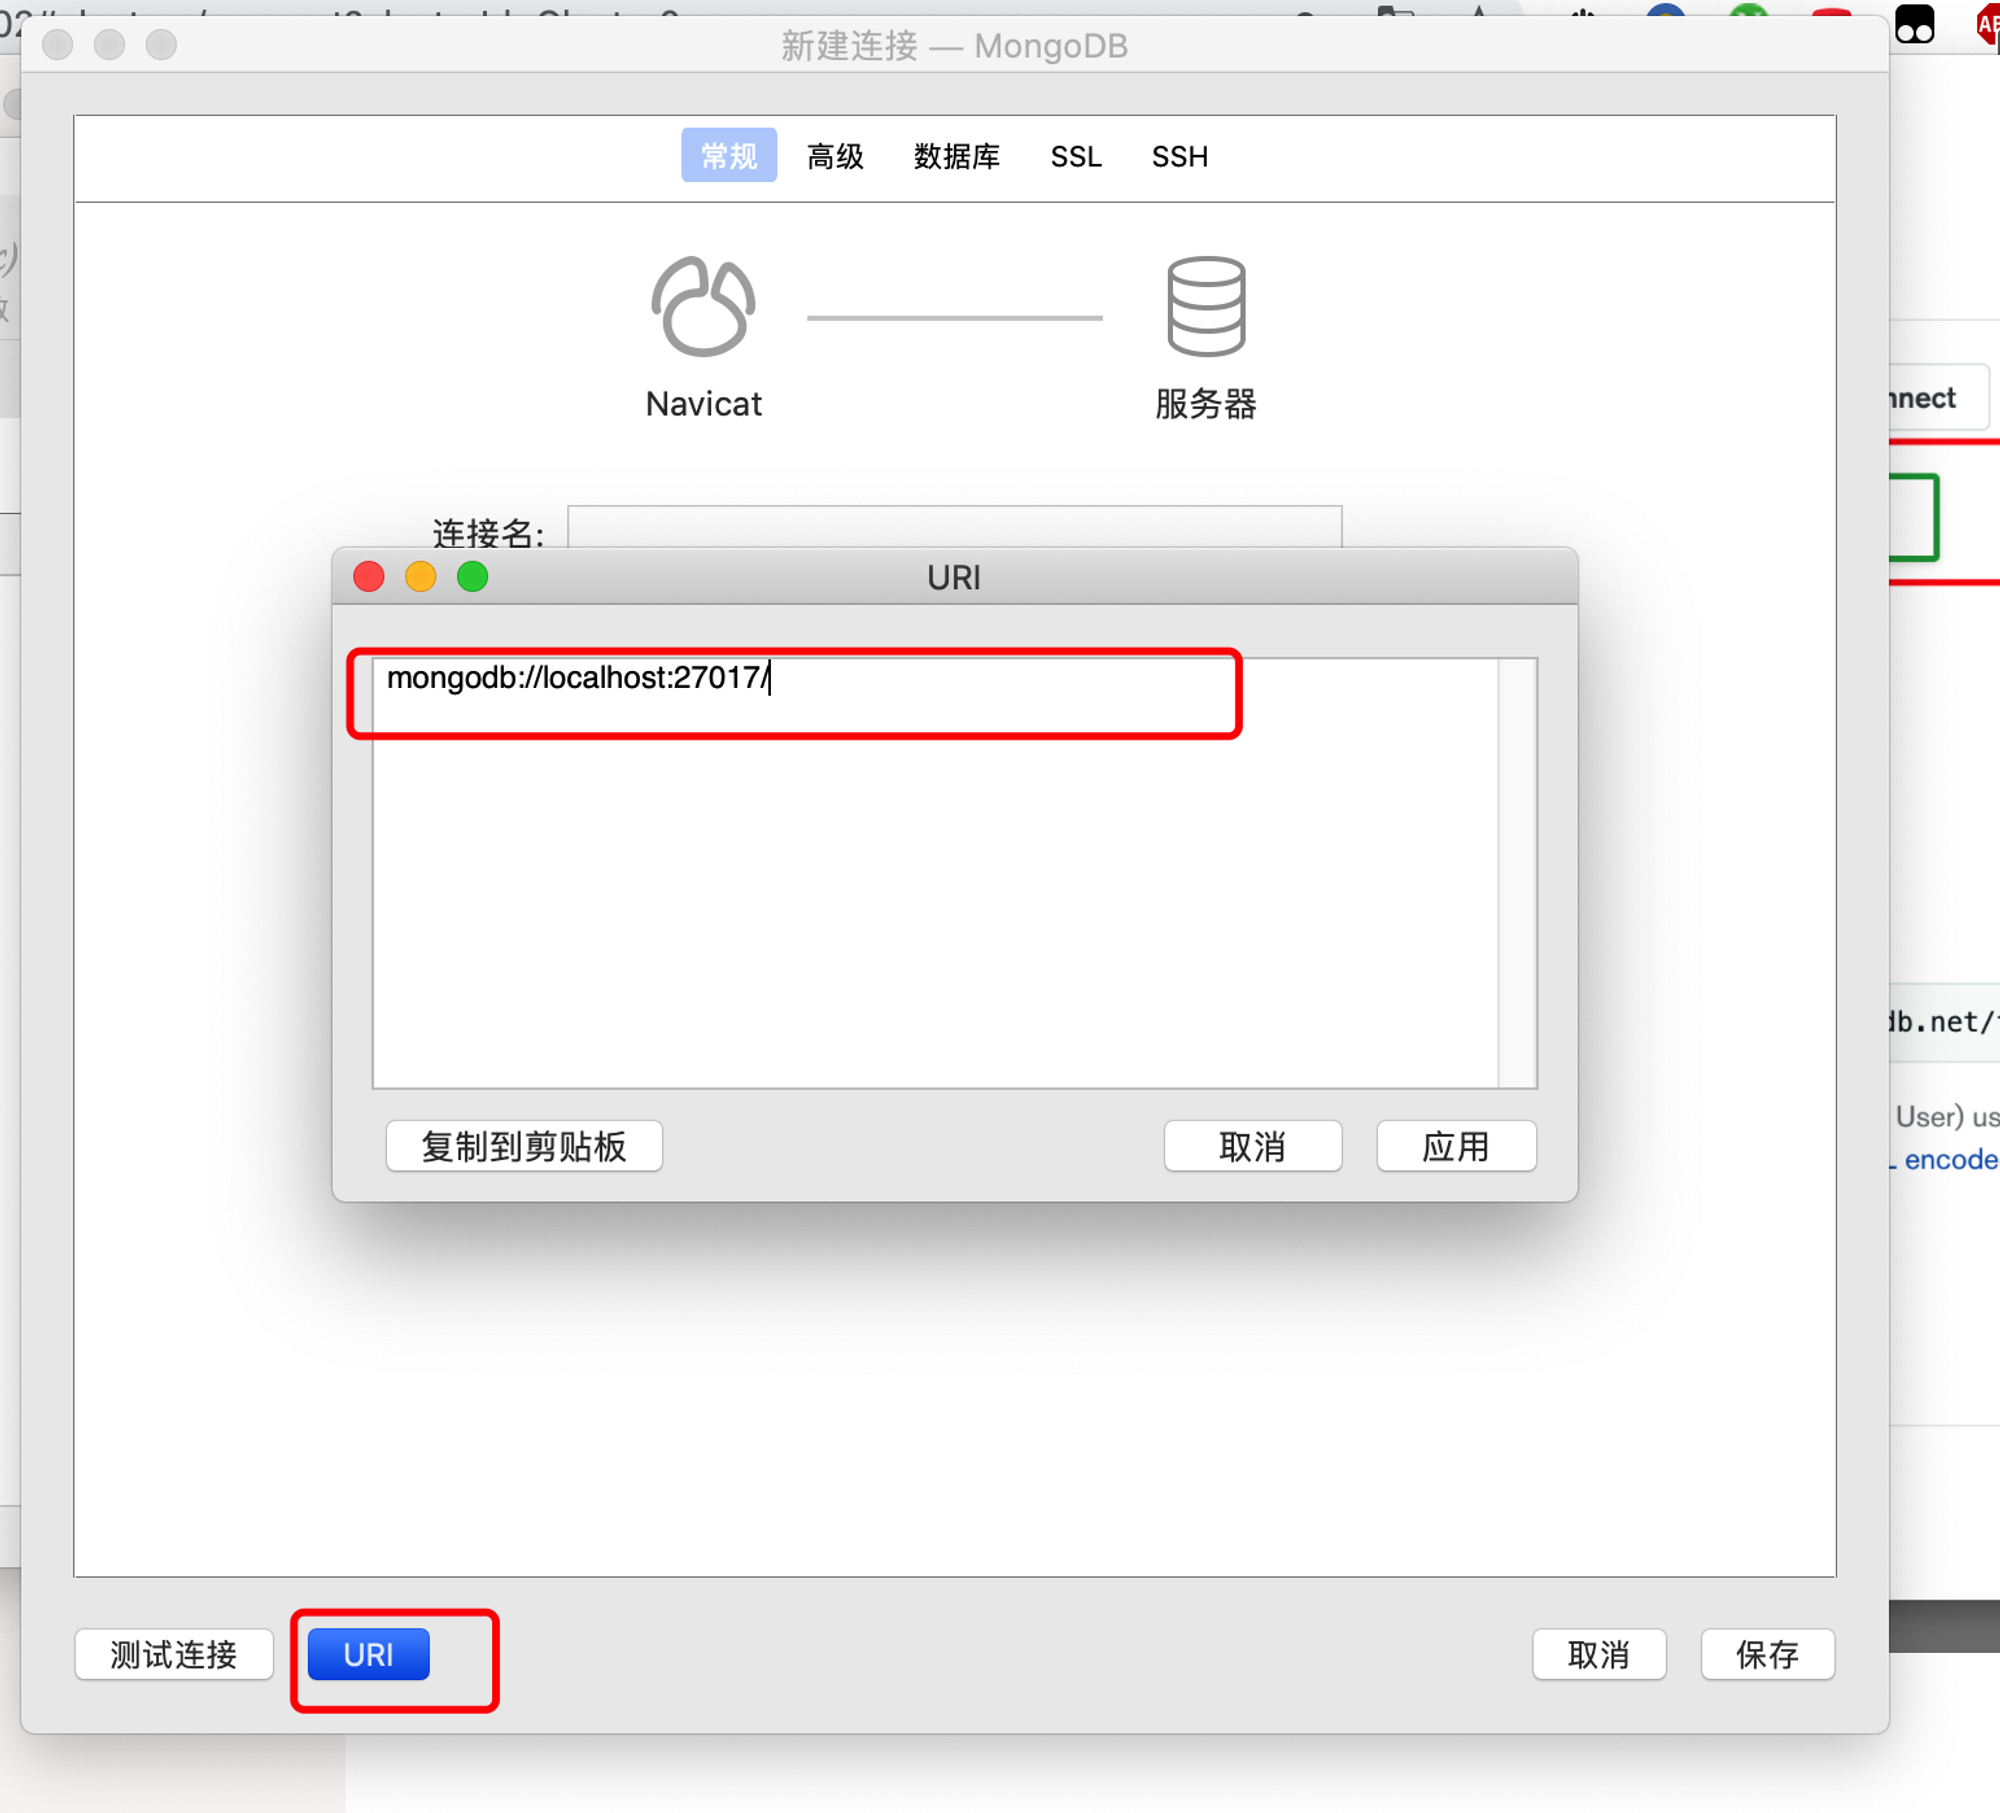
添加测试数据
我们用Navicat往MongoDB添加一条数据:创建一个数据库名叫
vercel、创建一个集合的名叫demo,document内容为 {name:"tanghh"}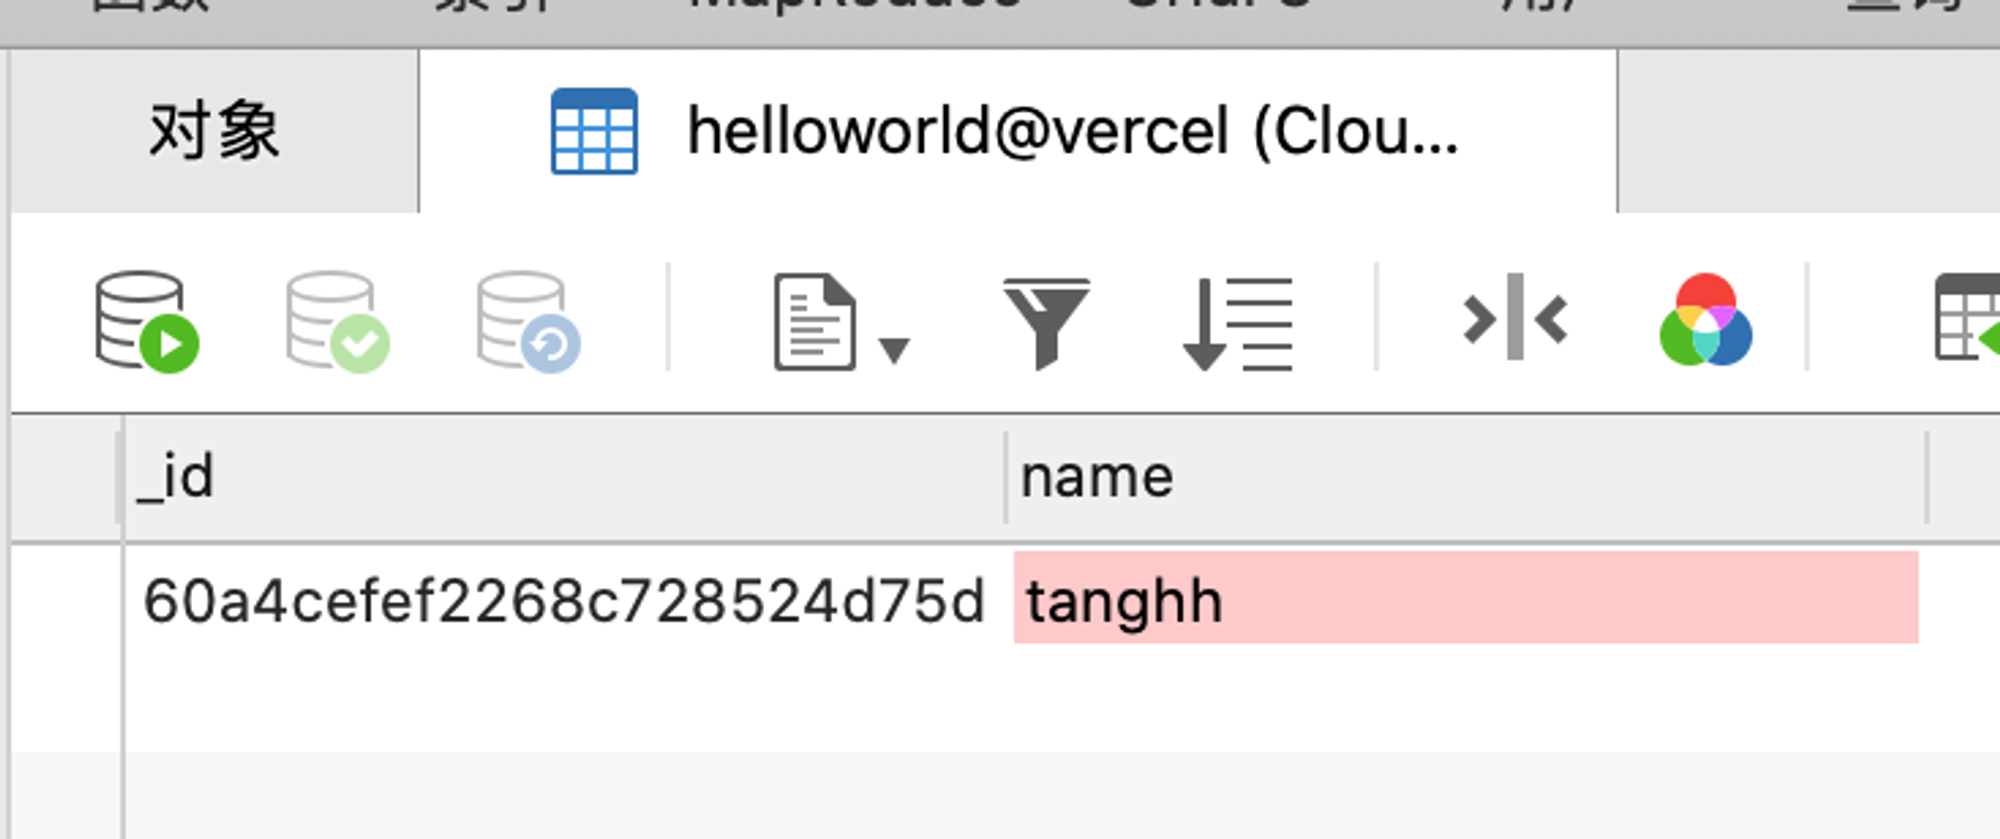
至此,数据库的创建,与连接配置已经完成,接下来在代码中实现功能
2.在代码中访问数据库
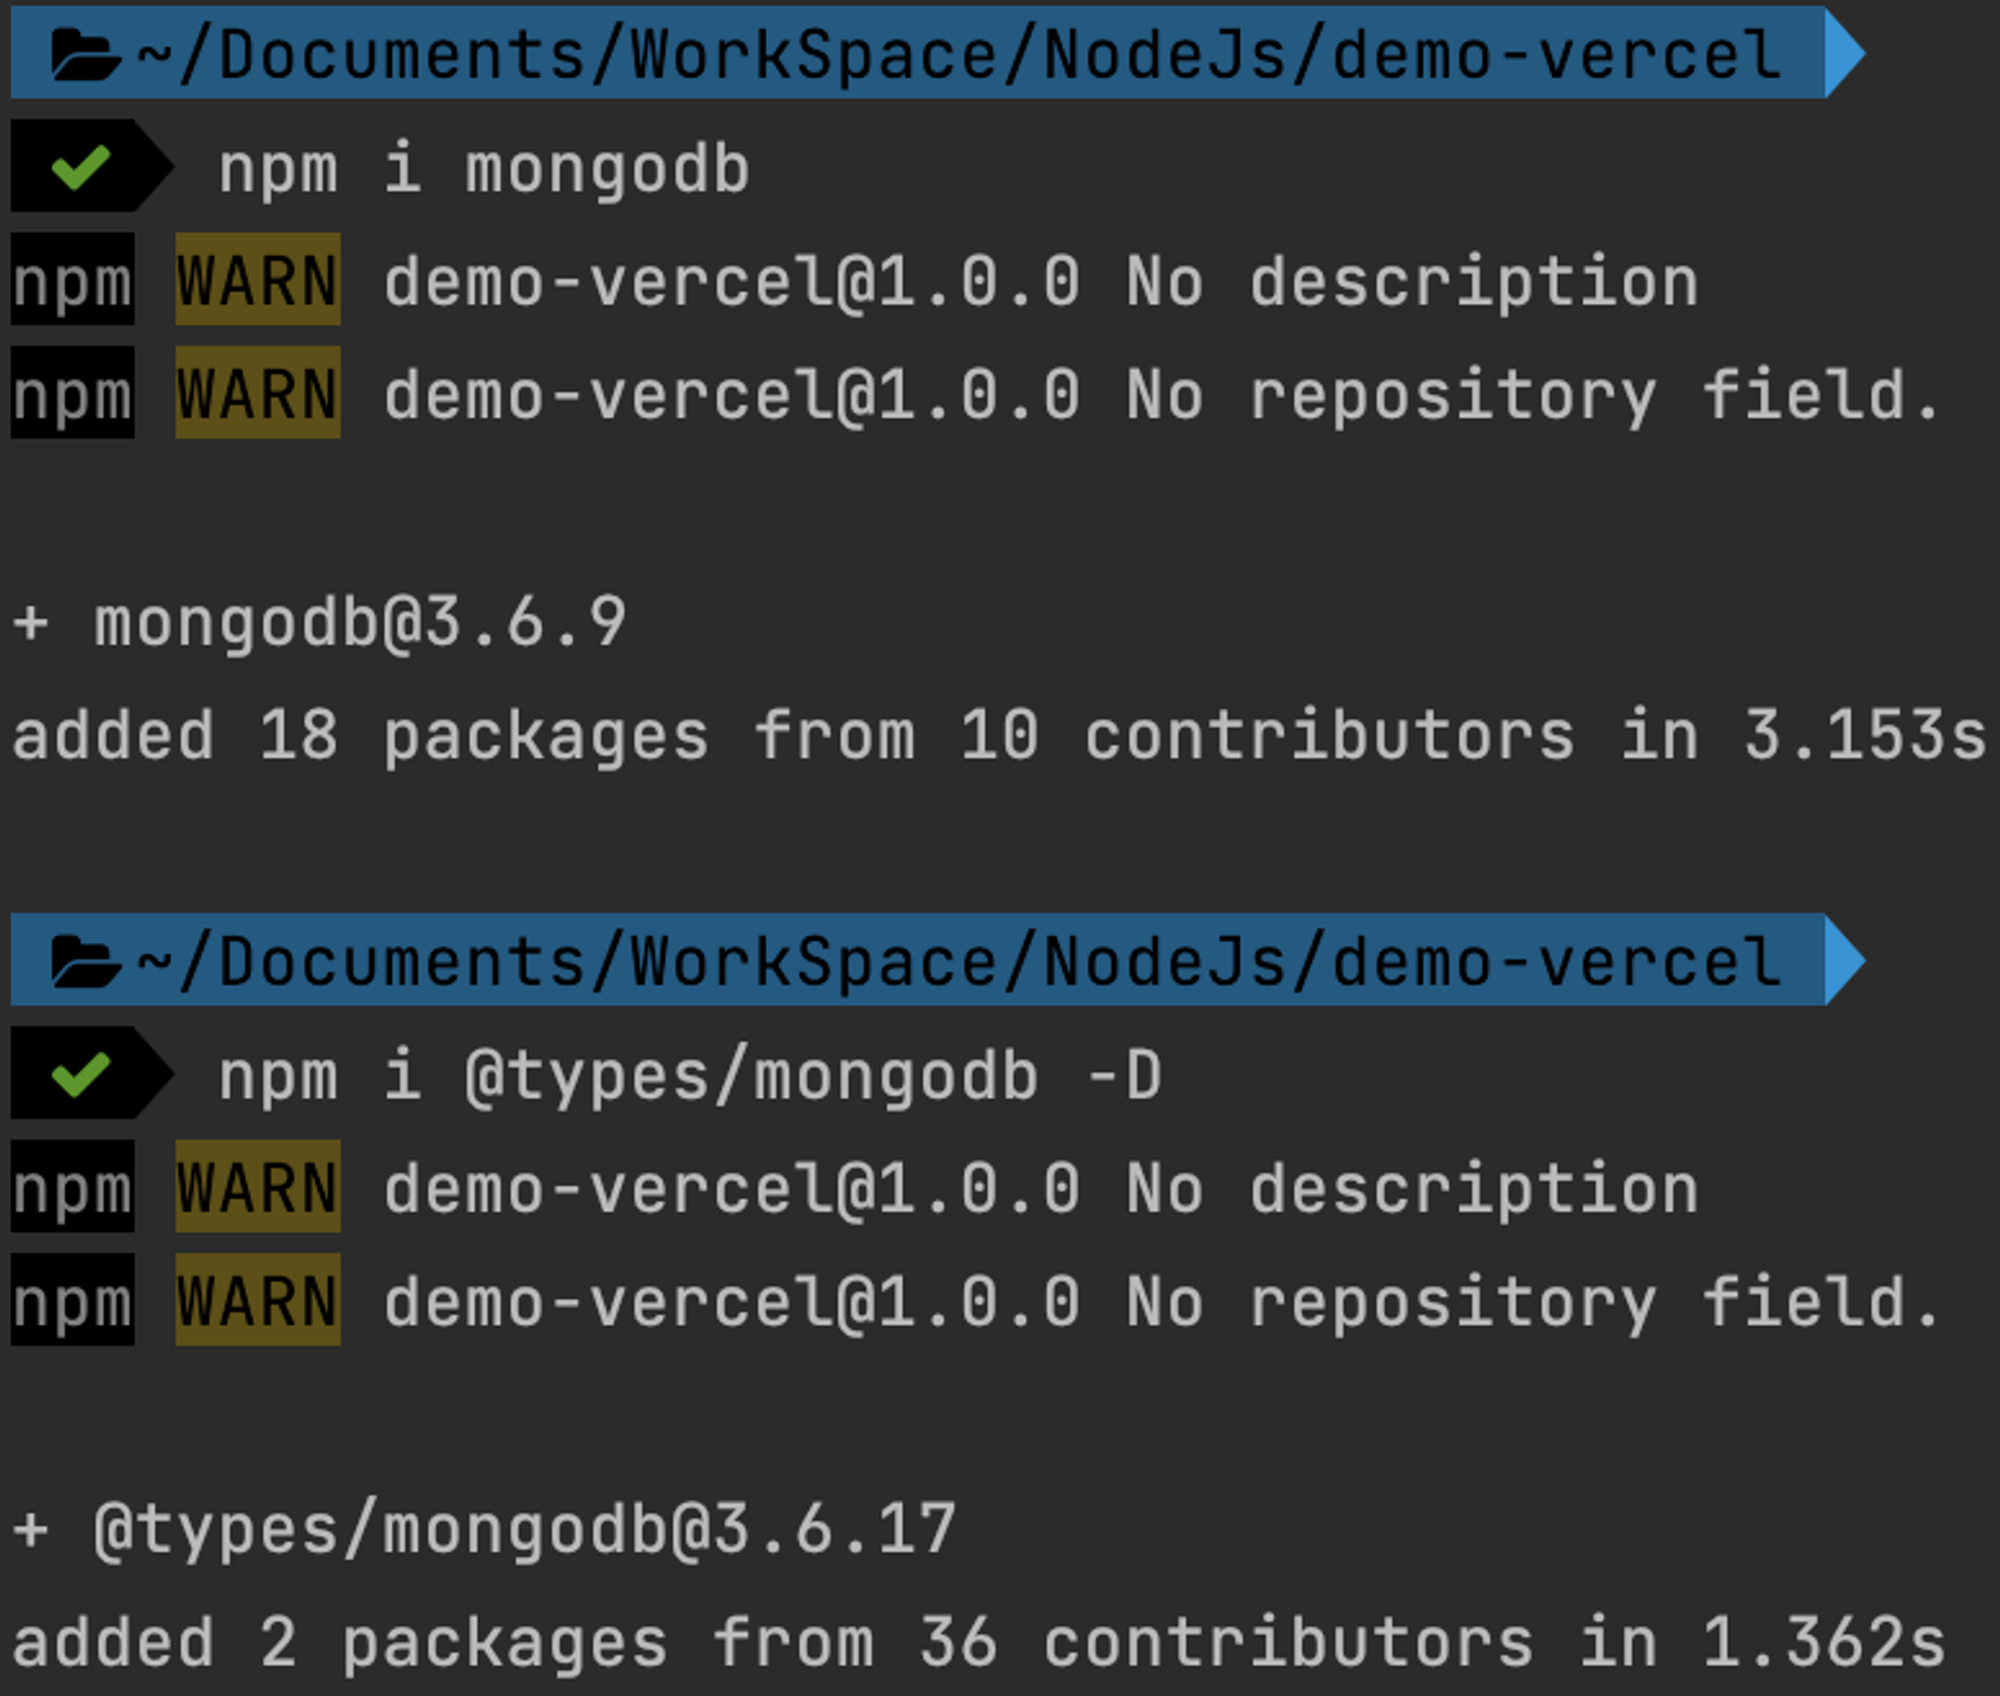
NPM 安装Mongodb依赖库
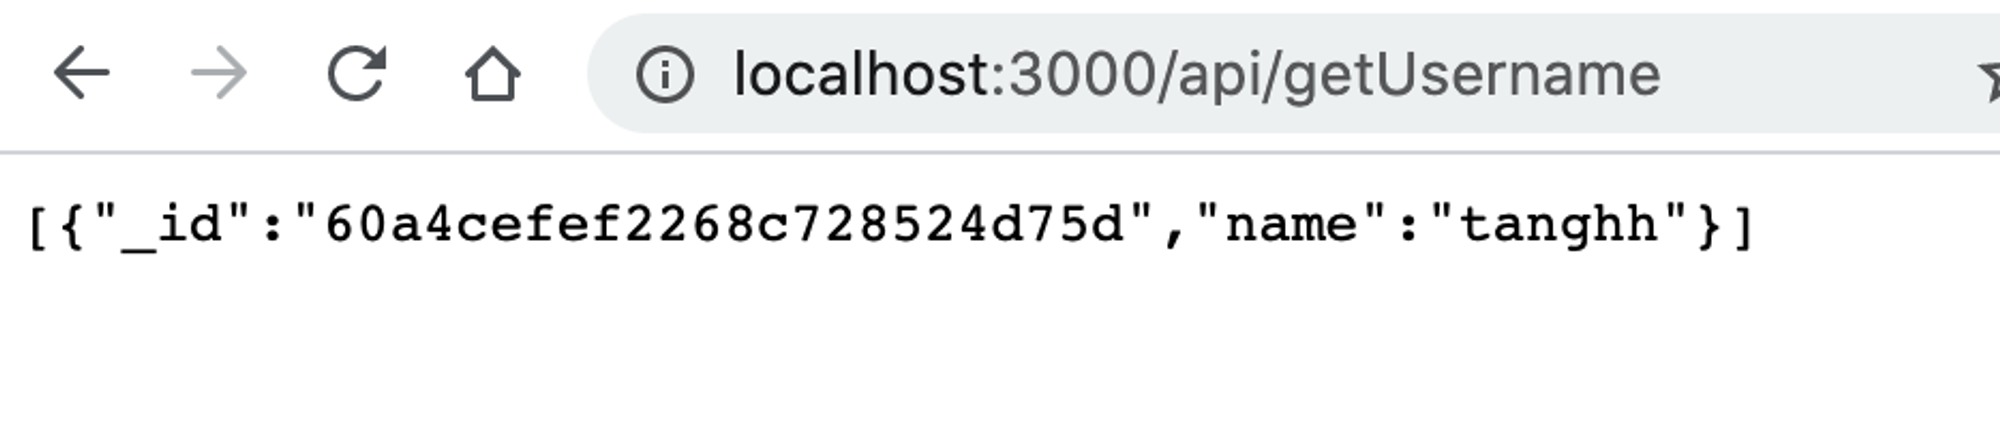
接下我们用接口查询这条数据。我们在api目录下创建名为getUsername.ts的文件,
注意:代码中的CONNECTION_STRING信息更换成你自己的!!!
CONNECTION_STRING变量的值,和之前用Navicat连接的代码不太一样,可以在网站后台这里找到:
3.完成效果展示
至此,一个通过MongoDB返回数据的serverless接口开发完毕;类似的你可以用这个平台简易的完成一个CURD的功能🤪
通过运行
vercel --prod命令即可将其发布。总结
动态API,数据库,托管服务器都是免费的,结合这套方案,轻装上阵,搭建你的API服务端吧~ 除了文档中示例的接口,我的github仓库中还列举了一个完整的增删改查,可以参考。

参考
Vercel API说明
在 vercel 中通过
res.json(obj) 来返回 JSON 数据,像这样的简单方便的函数并不为原生的 HTTP Handler (opens new window)所提供。而由 vercel 提供的 Node.js Helper (opens new window)实现:req.query: An object containing the request's query string, or {} if the request does not have a query string.
req.cookies: An object containing the cookies sent by the request, or {} if the request contains no cookies.
req.body: An object containing the body sent by the request, or null if no body is sent.
res.status(code): A function to set the status code sent with the response where code must be a valid HTTP status code. Returns res for chaining.
res.send(body): A function to set the content of the response where body can be a string, an object or a Buffer.
res.json(obj): A function to send a JSON response where obj is the JSON object to send.
res.redirect(url): A function to redirect to the URL derived from the specified path with status code "307 Temporary Redirect".
res.redirect(statusCode, url): A function to redirect to the URL derived from the specified path, with specified HTTP status code.
Vercel.json 重定向说明
部署完成后,默认的路由路径是
/api,此时 / 会显示文件目录,如果想更好地扩展路由呢?通过配置文件
vercel.json 配置 Rewrites/Redirects 可完成此功能,通过这一功能可以快速实现反向代理、路由转换等功能。- 作者:NotionNext
- 链接:https://tangly1024.com/vercel-free-serverless-api
- 声明:本文采用 CC BY-NC-SA 4.0 许可协议,转载请注明出处。
相关文章